Users
The Users page allows you to manage employee accounts and control access to both the Admin Panel and the Android application.
By default, an Administrator account is created for each establishment. This account is used to log into the Admin Panel and has full system privileges. If a PIN code is assigned to it, the administrator can also log into the Android application to perform operations on the cash register.
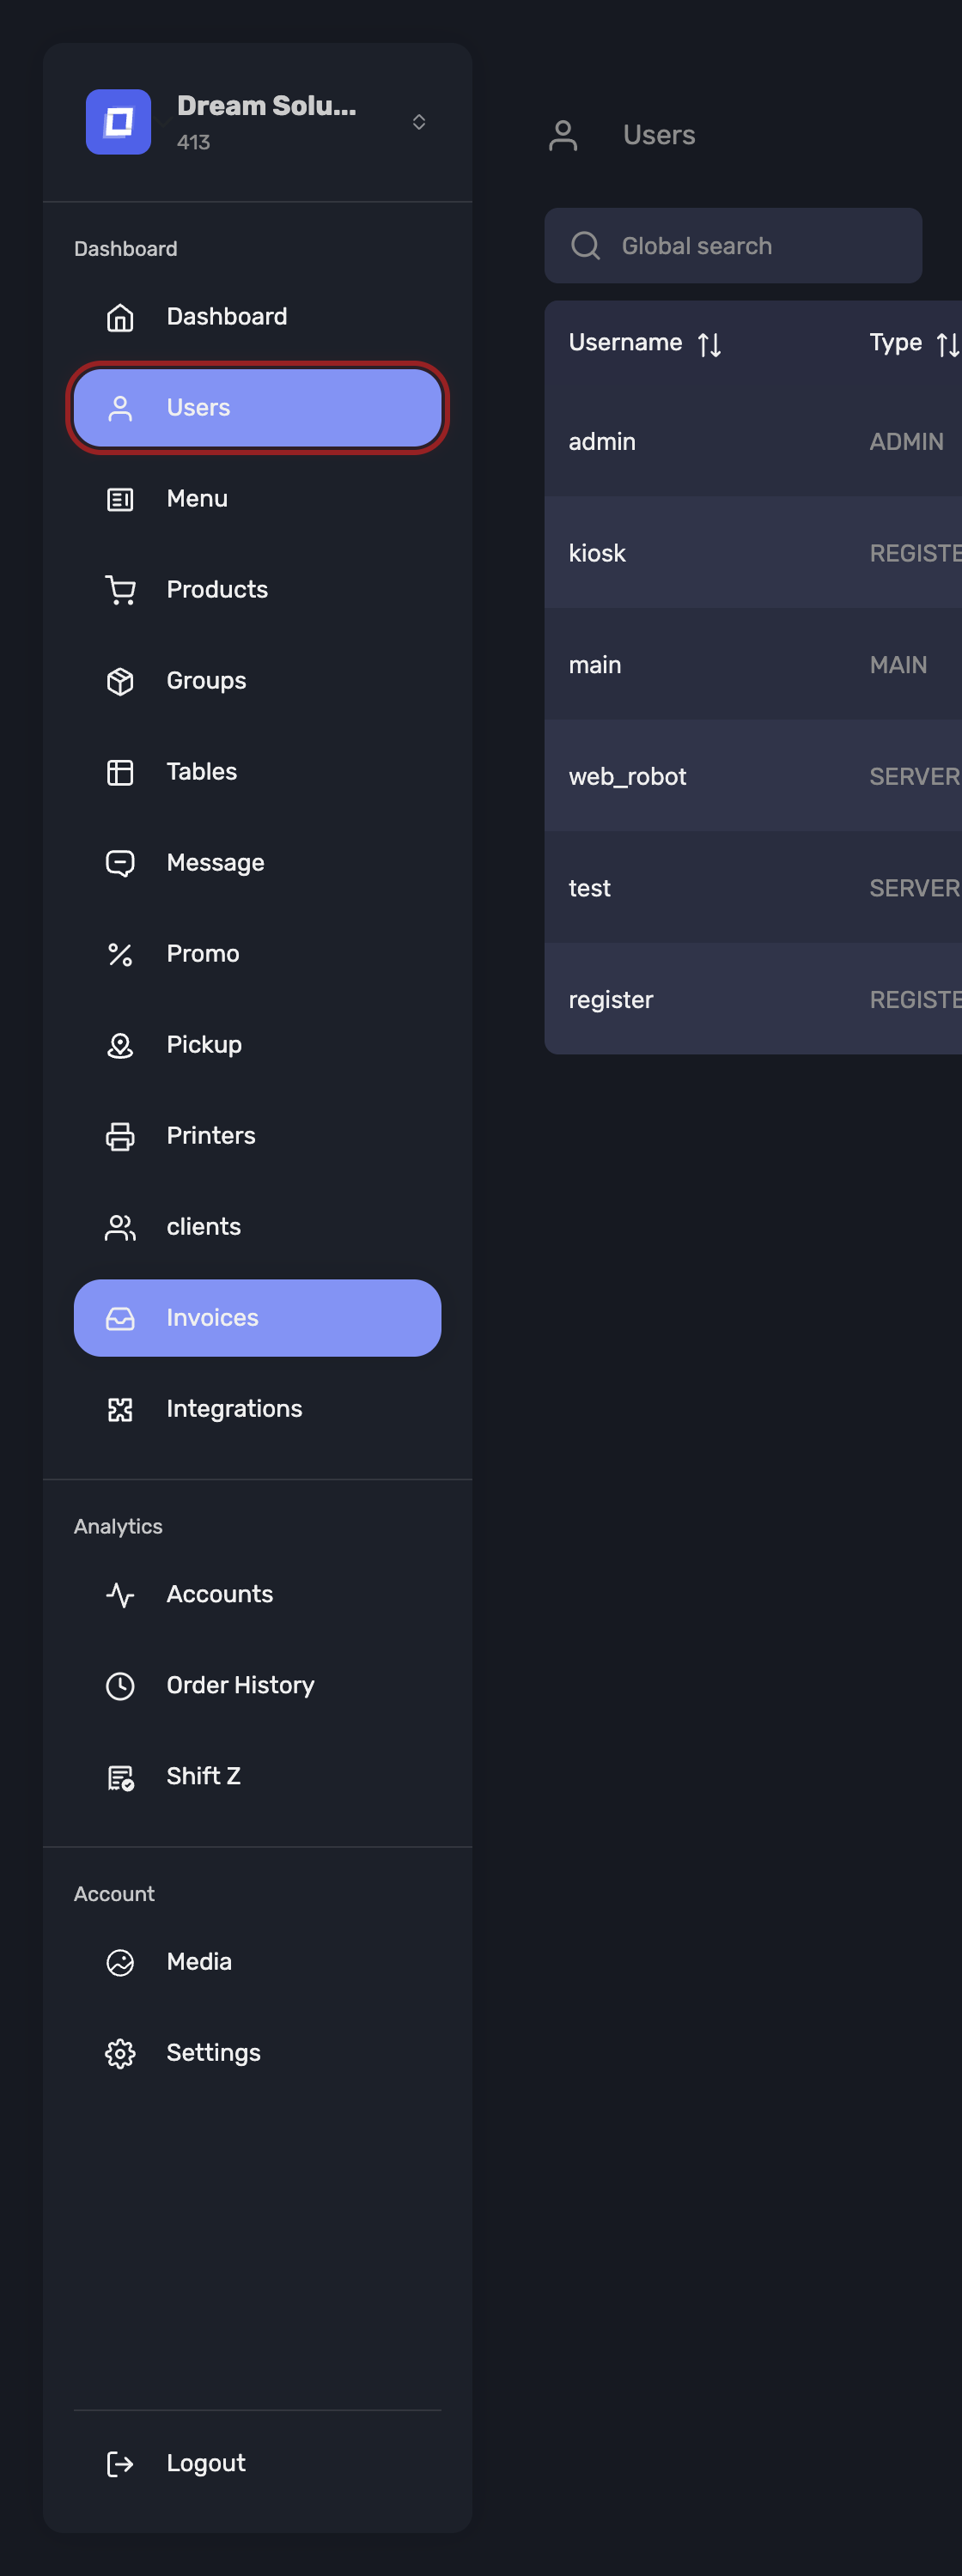
Open it from Users in the sidebar.
Creating a User
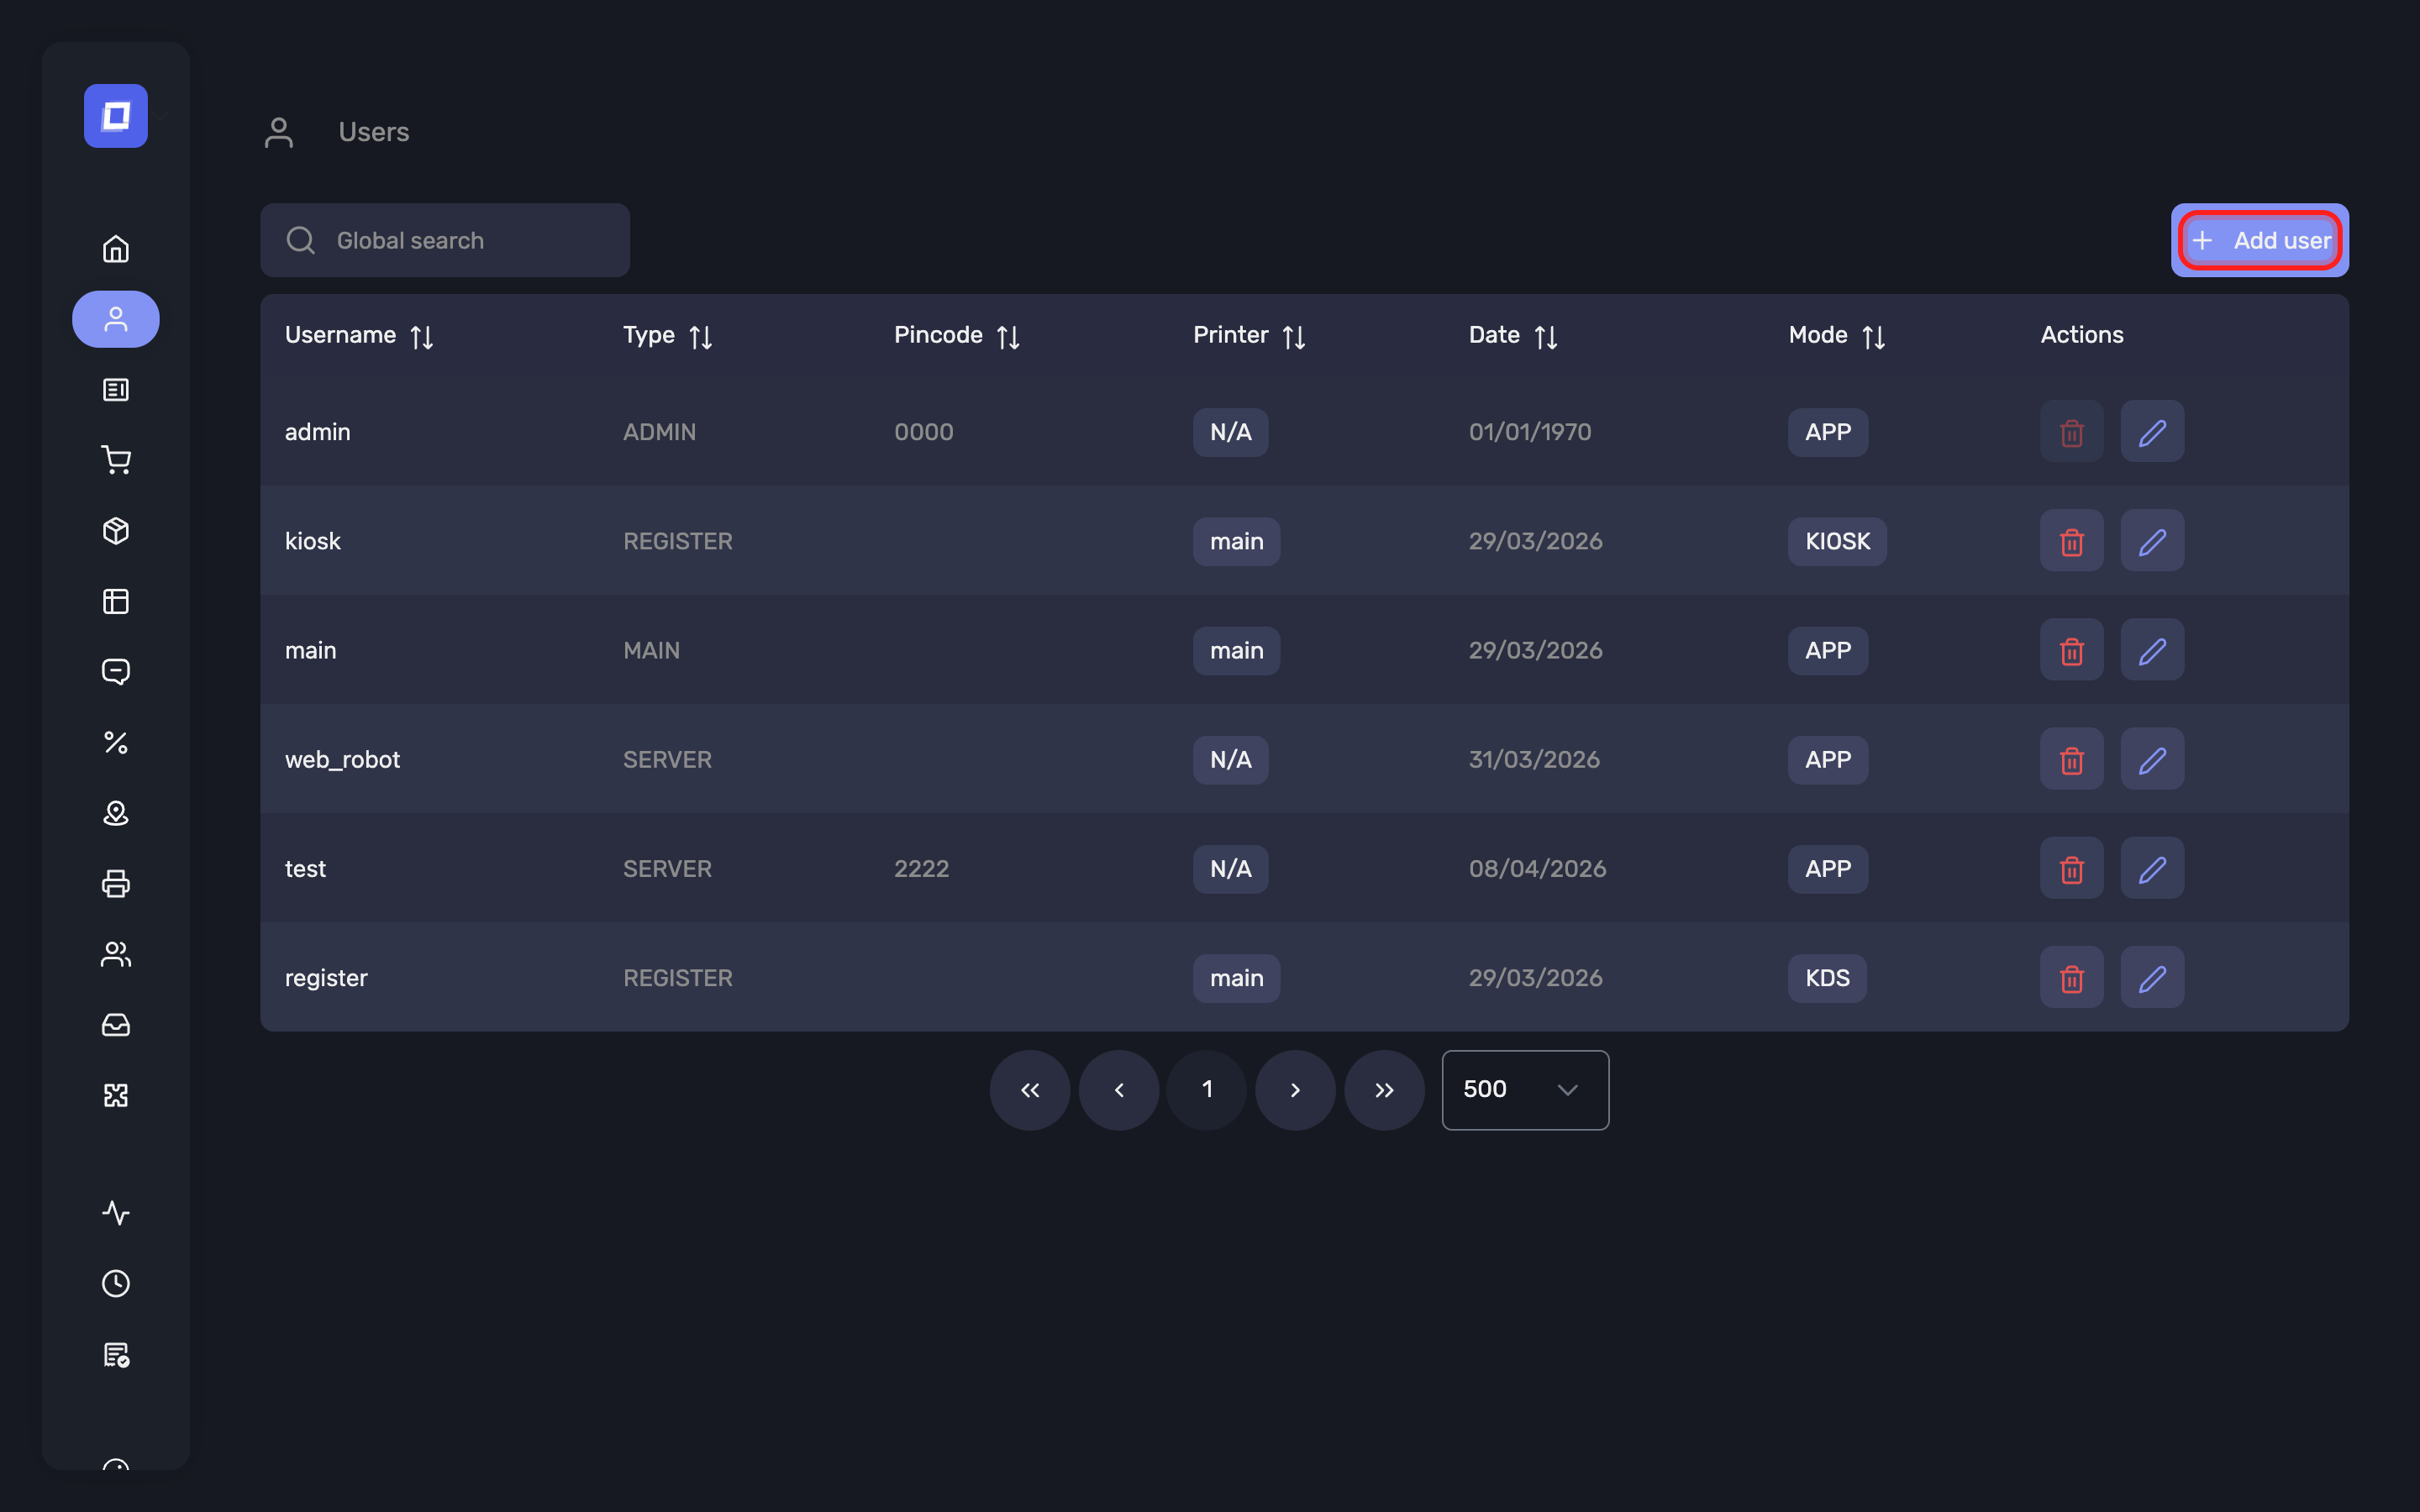
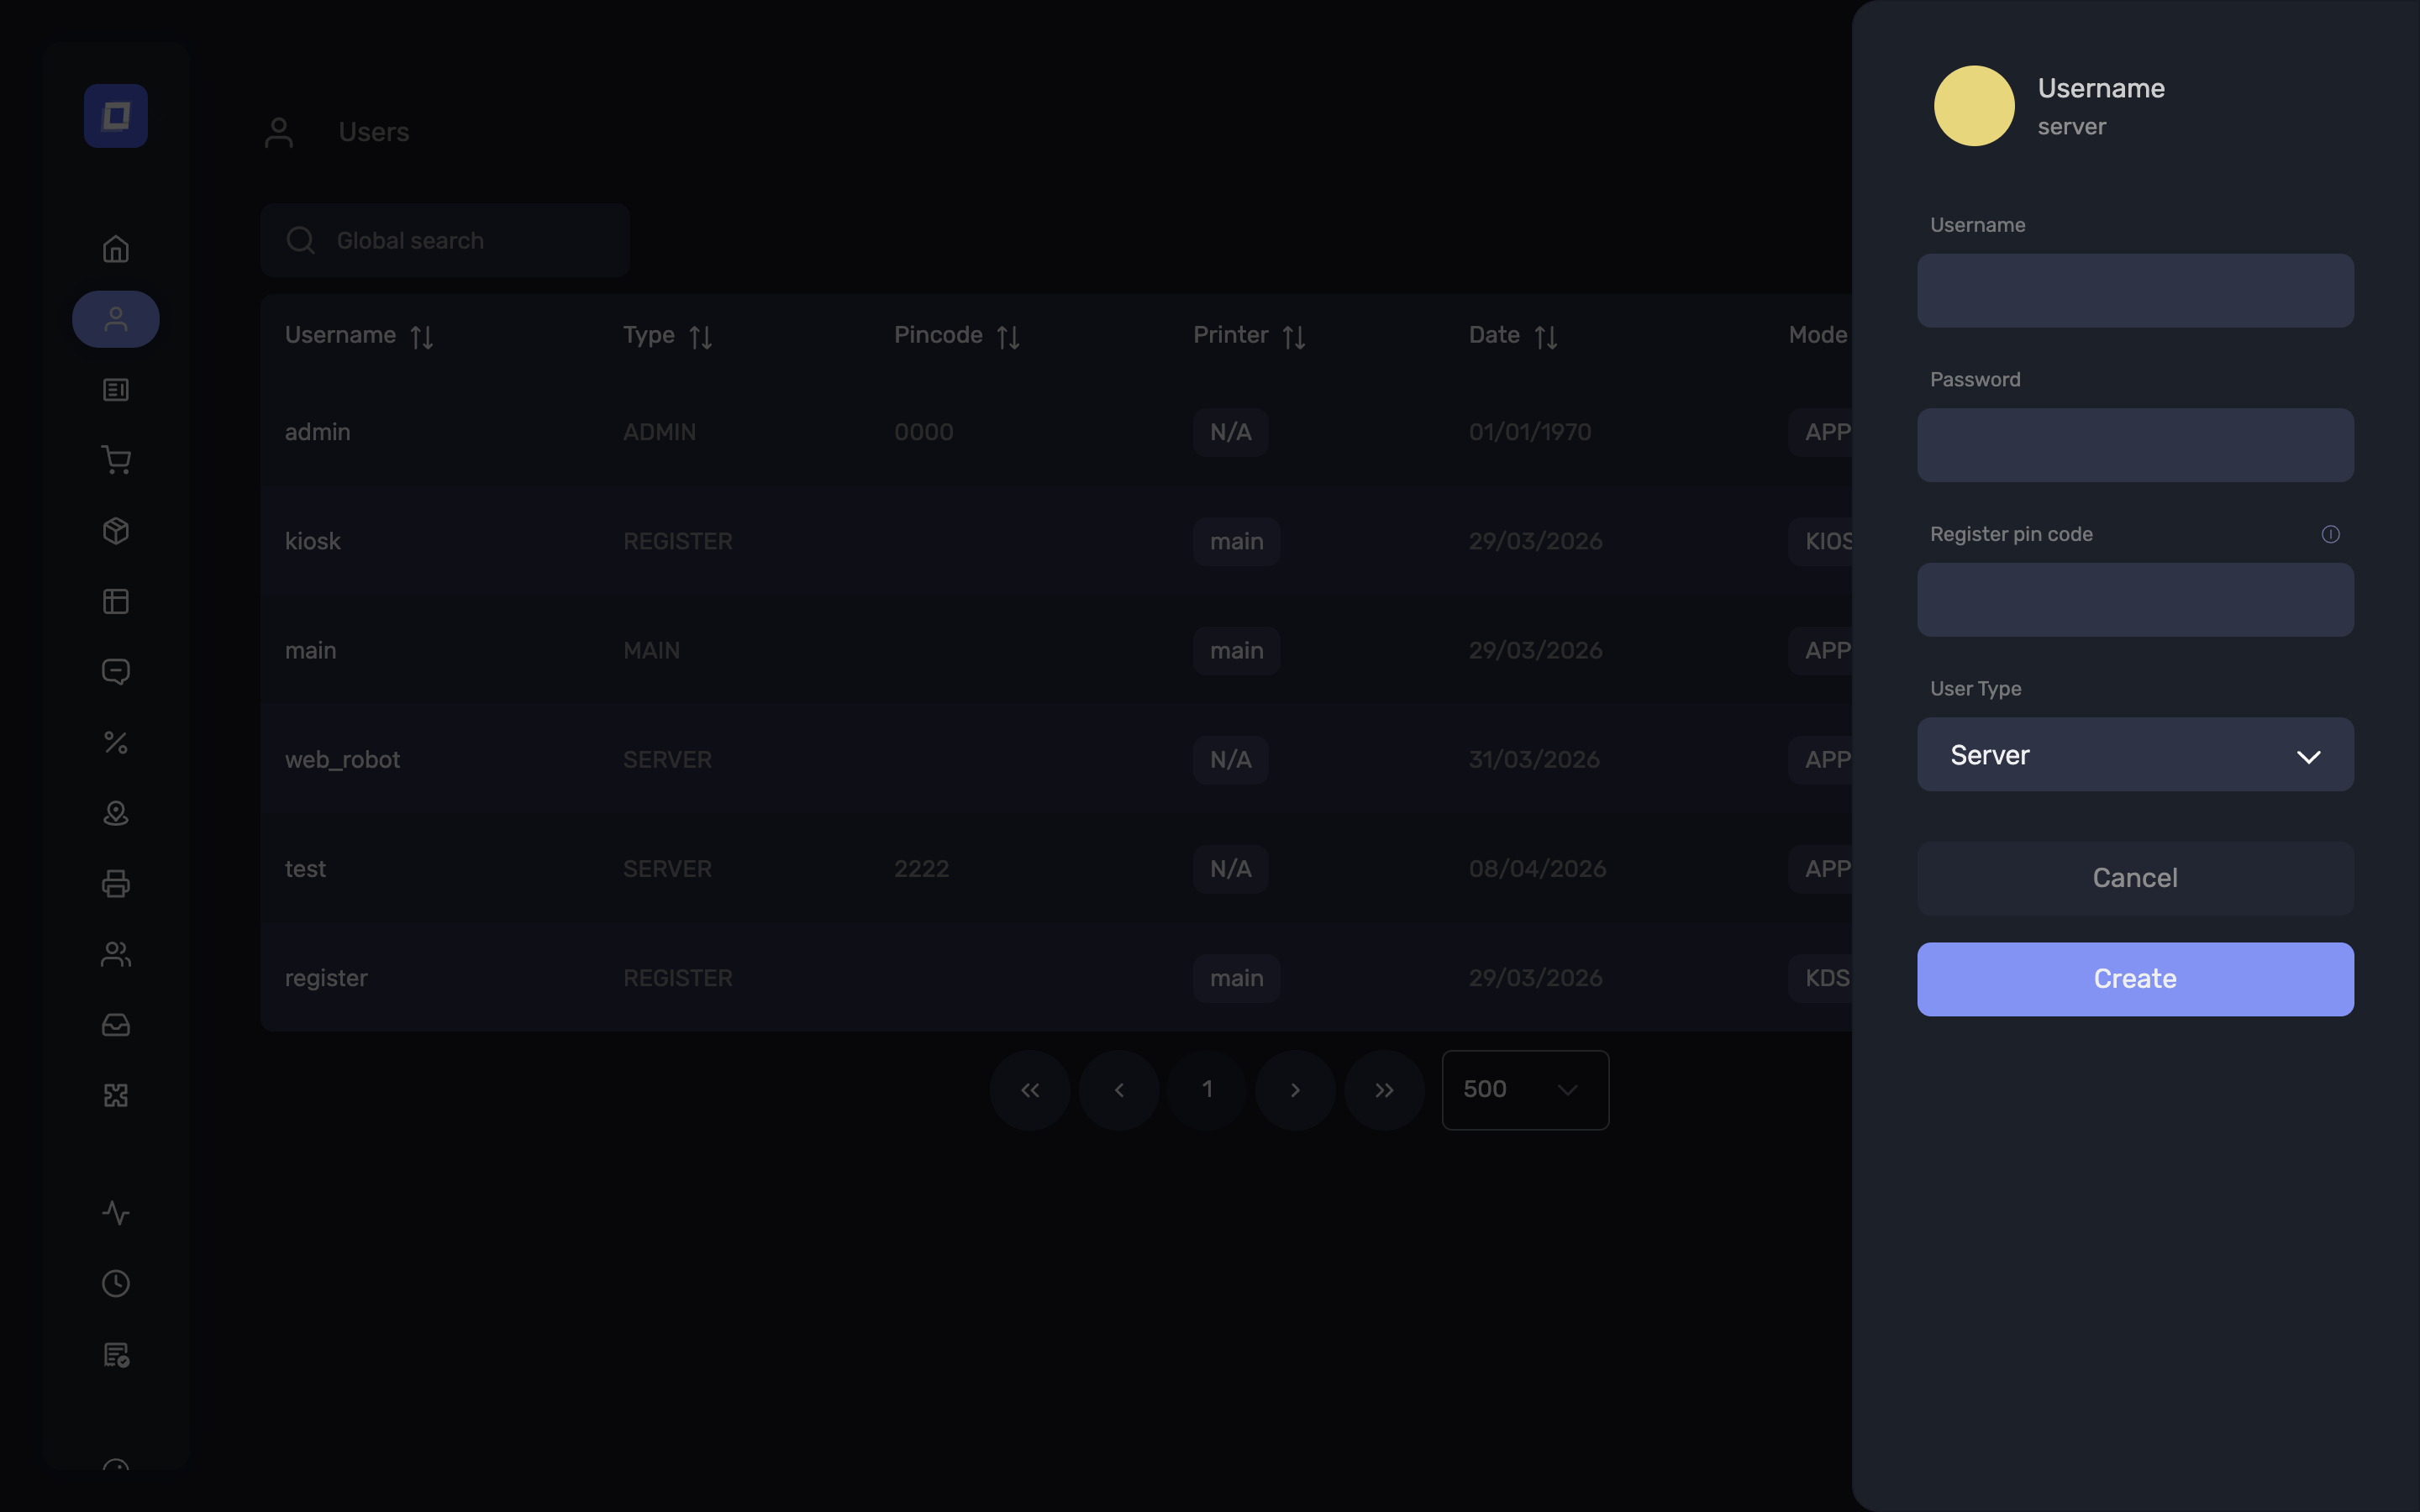
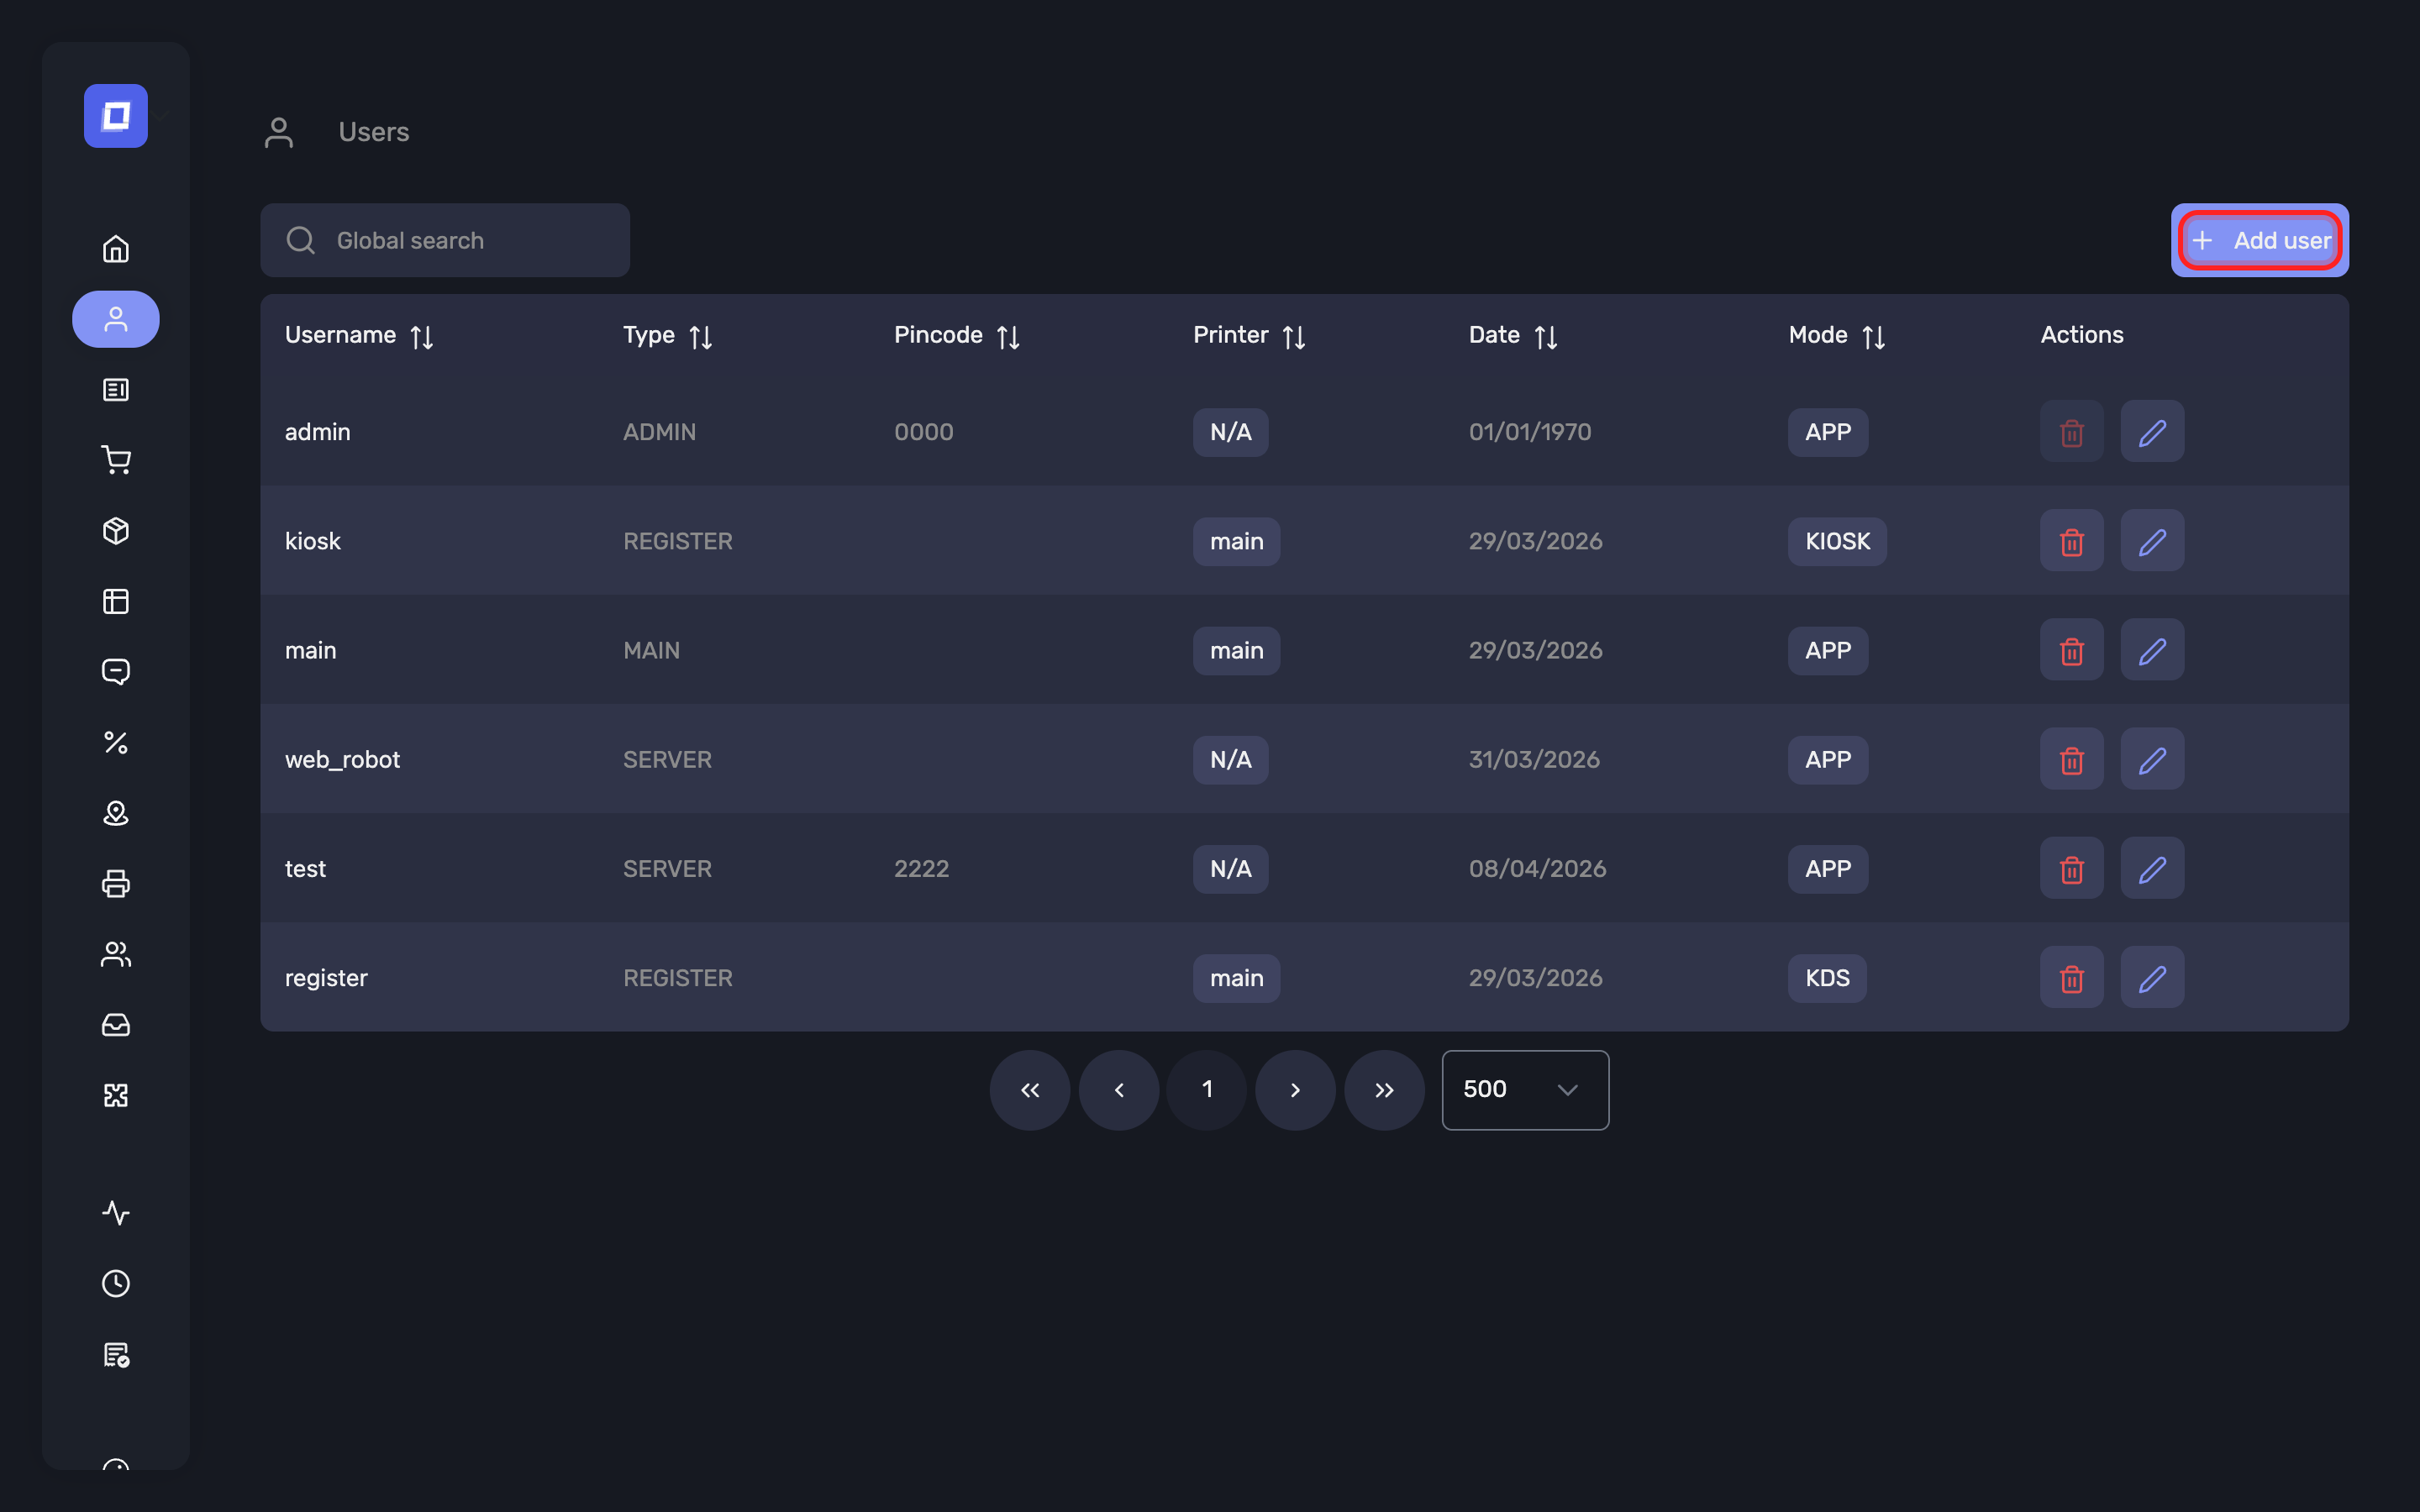
Creating a user and configuring one are two different dialogs. Creation asks only for what is needed to make the account exist:
- Username
- Password
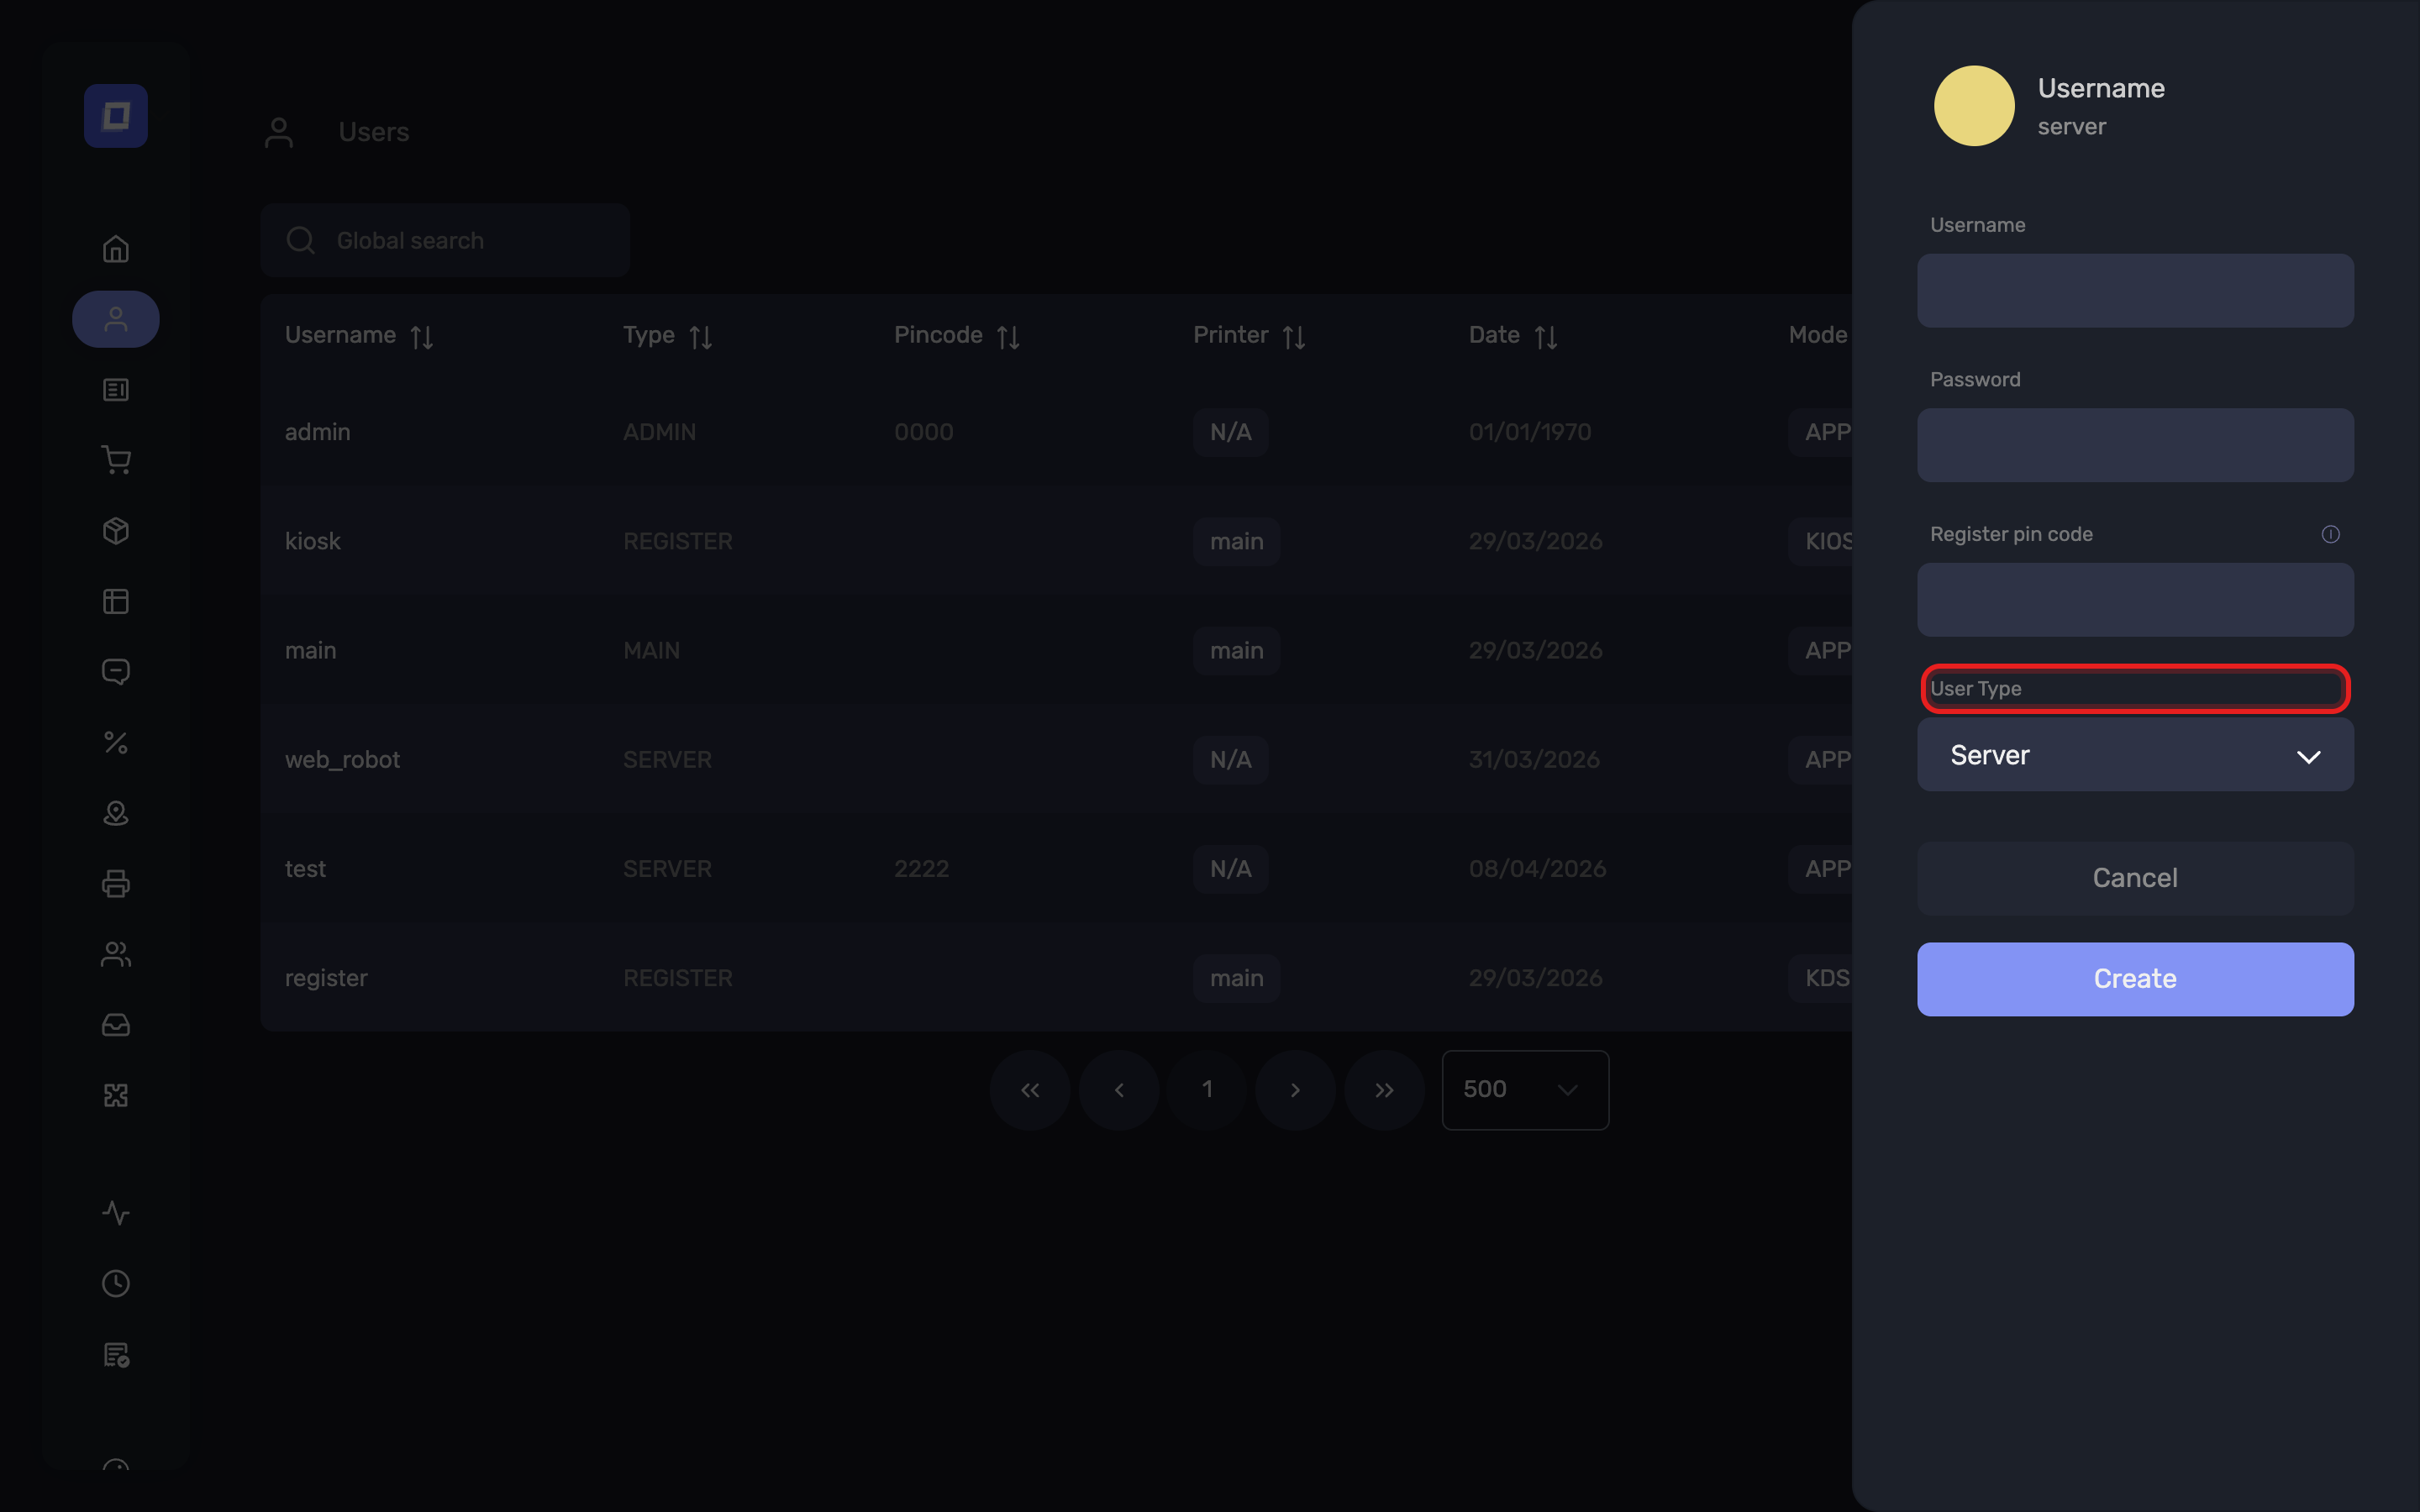
- User Type
- Register pin code — the PIN this person enters on a shared register. Not asked for a Main account, which is a terminal rather than a person.
- NISS — (Belgian SCE-certified version only) the employee's National Identification Number
- Training — (certified version only) marks the account as a training account
Note
Everything else — the printer, abilities, catalog and zone restrictions — is only available once the user exists, in the edit dialog. Create the account first, then open it to configure it.
User Types
There are four user types available:
Administrator
- Has full access to all features.
- Only one administrator can be assigned per establishment.
- Can log into both the Admin Panel and the POS application (if PIN is assigned).
Server
- Represents a regular employee (e.g., waiter).
- Uses a PIN code to log into the Android POS application via a register.
Register
- A terminal account assigned to a tablet device.
- Servers log into this register using their personal PINs.
- Multiple registers can be created per establishment.
Main
- Similar to a register but limited to one per establishment.
- Manages printer dispatching and acts as the central terminal.
- Recommended when there is only one register in use.
Tip: Use Main for single-register setups, and Register with a single Main for multi-terminal environments.
Editing a User
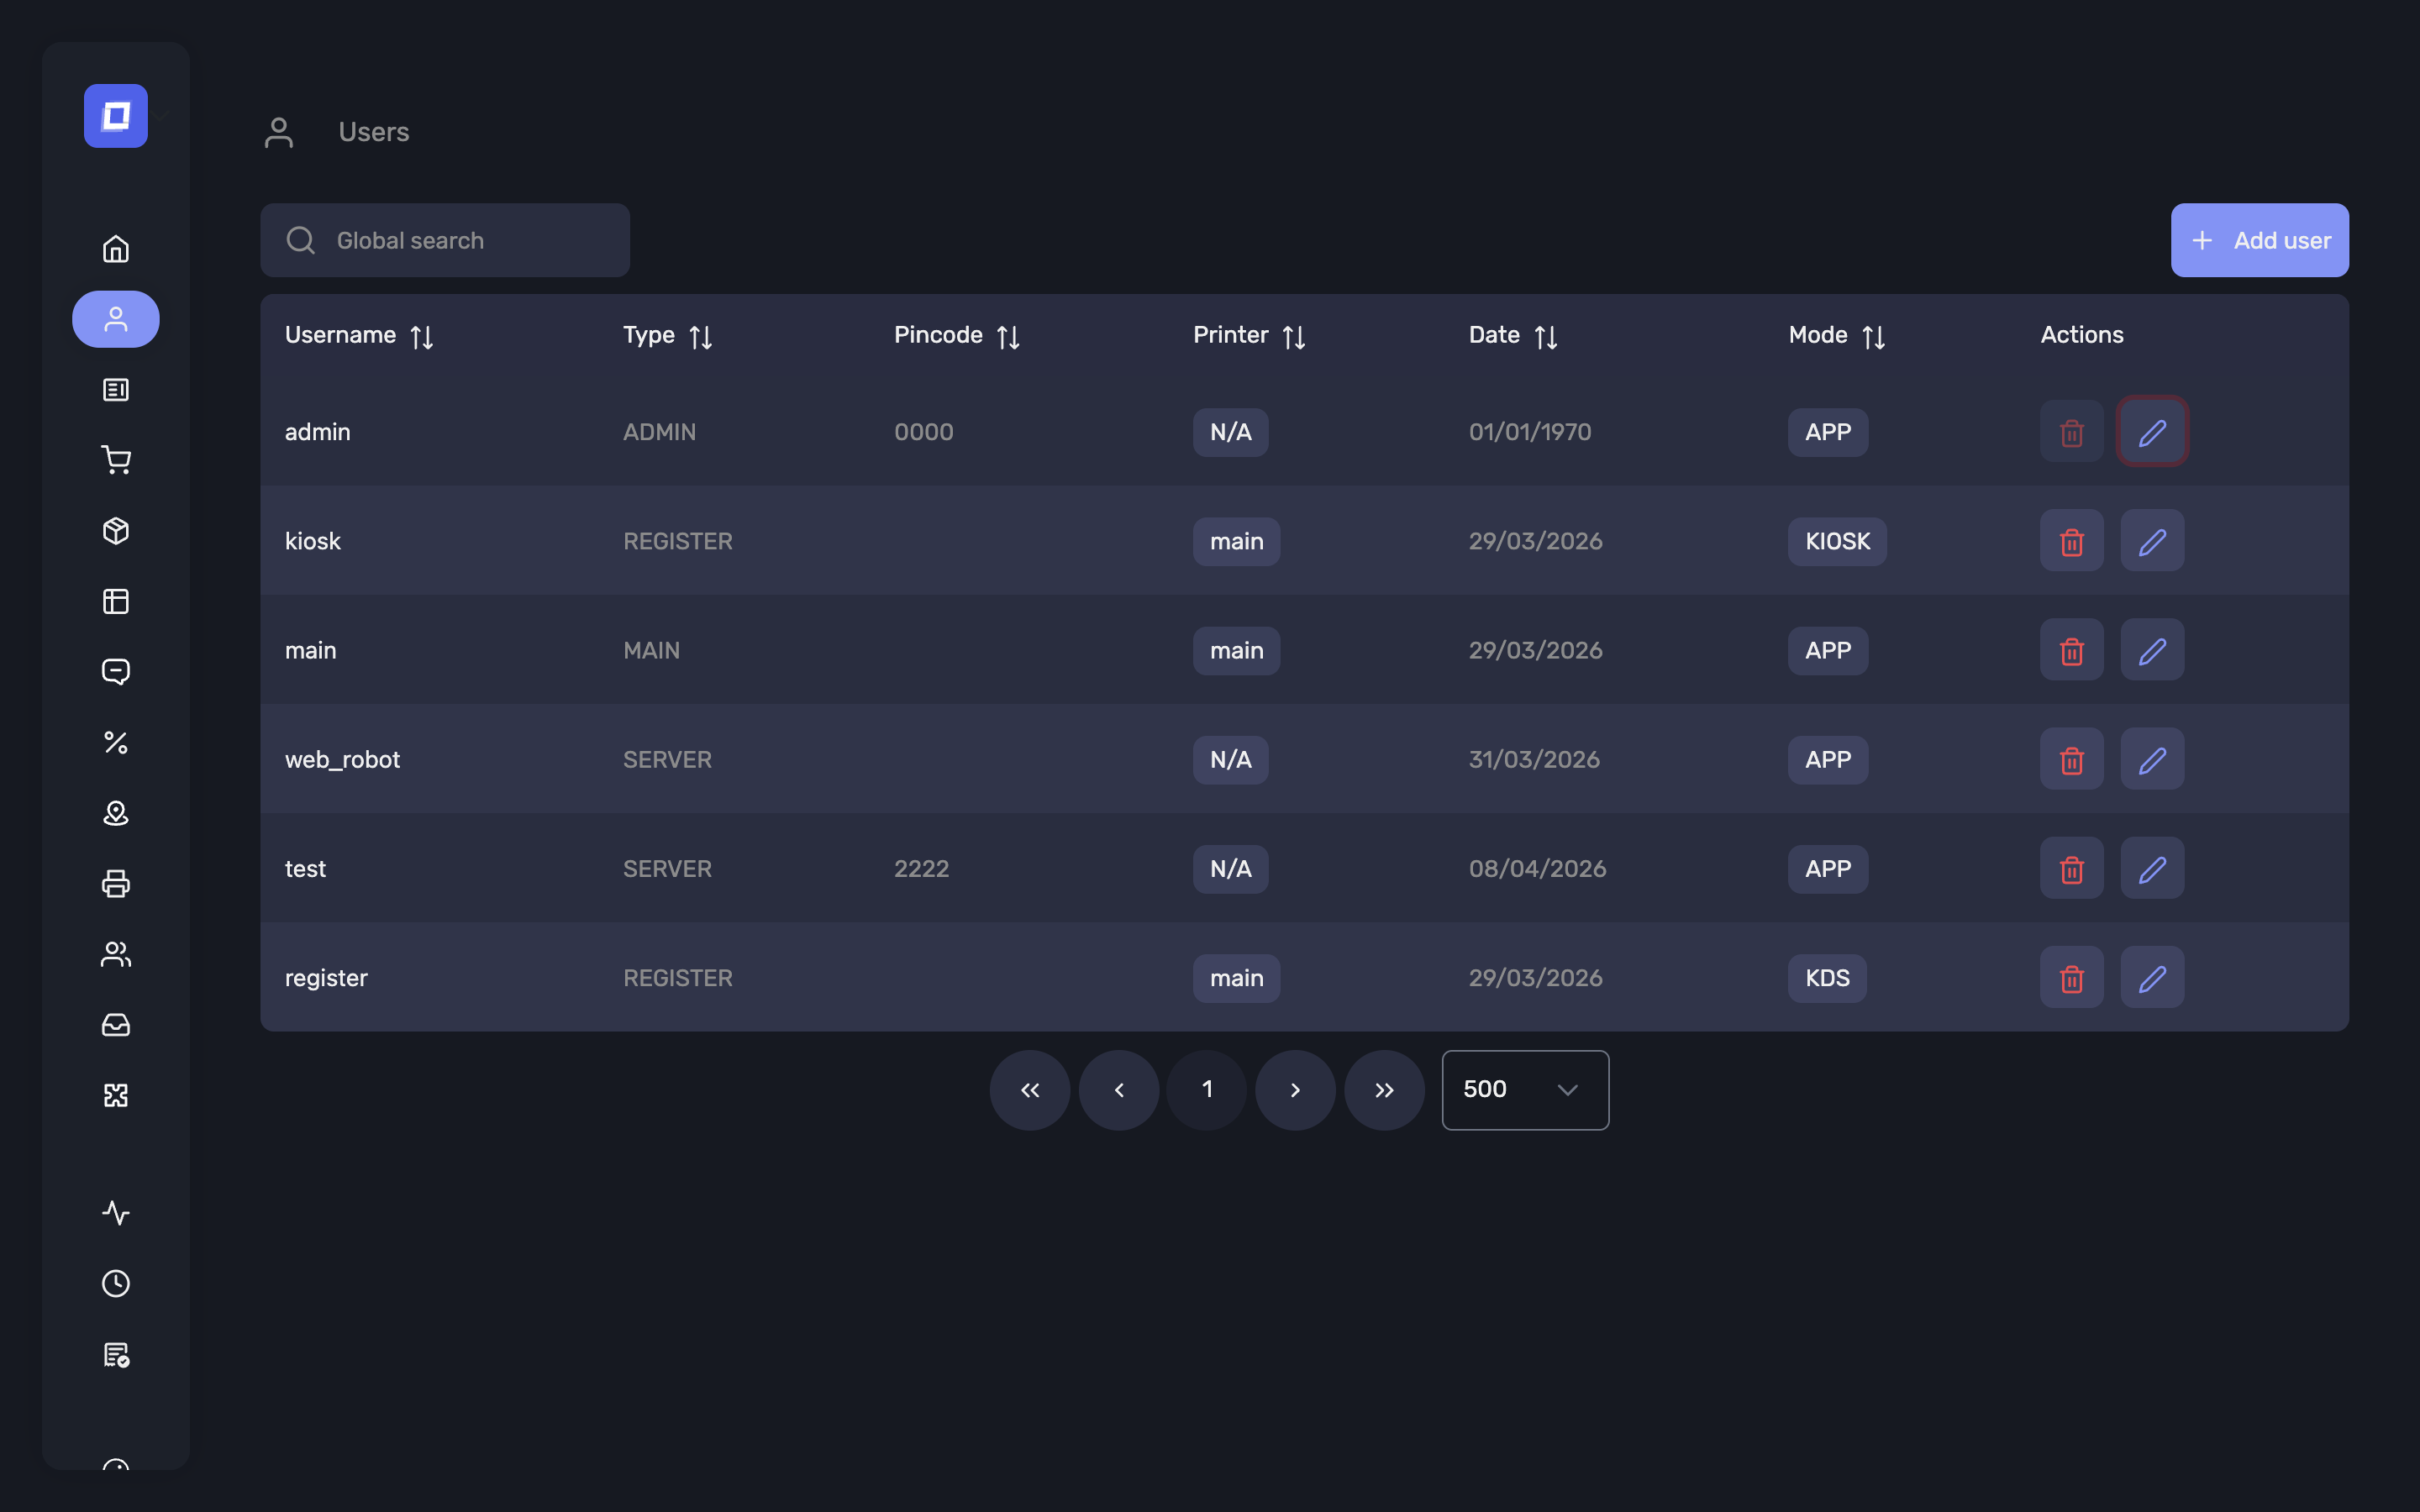
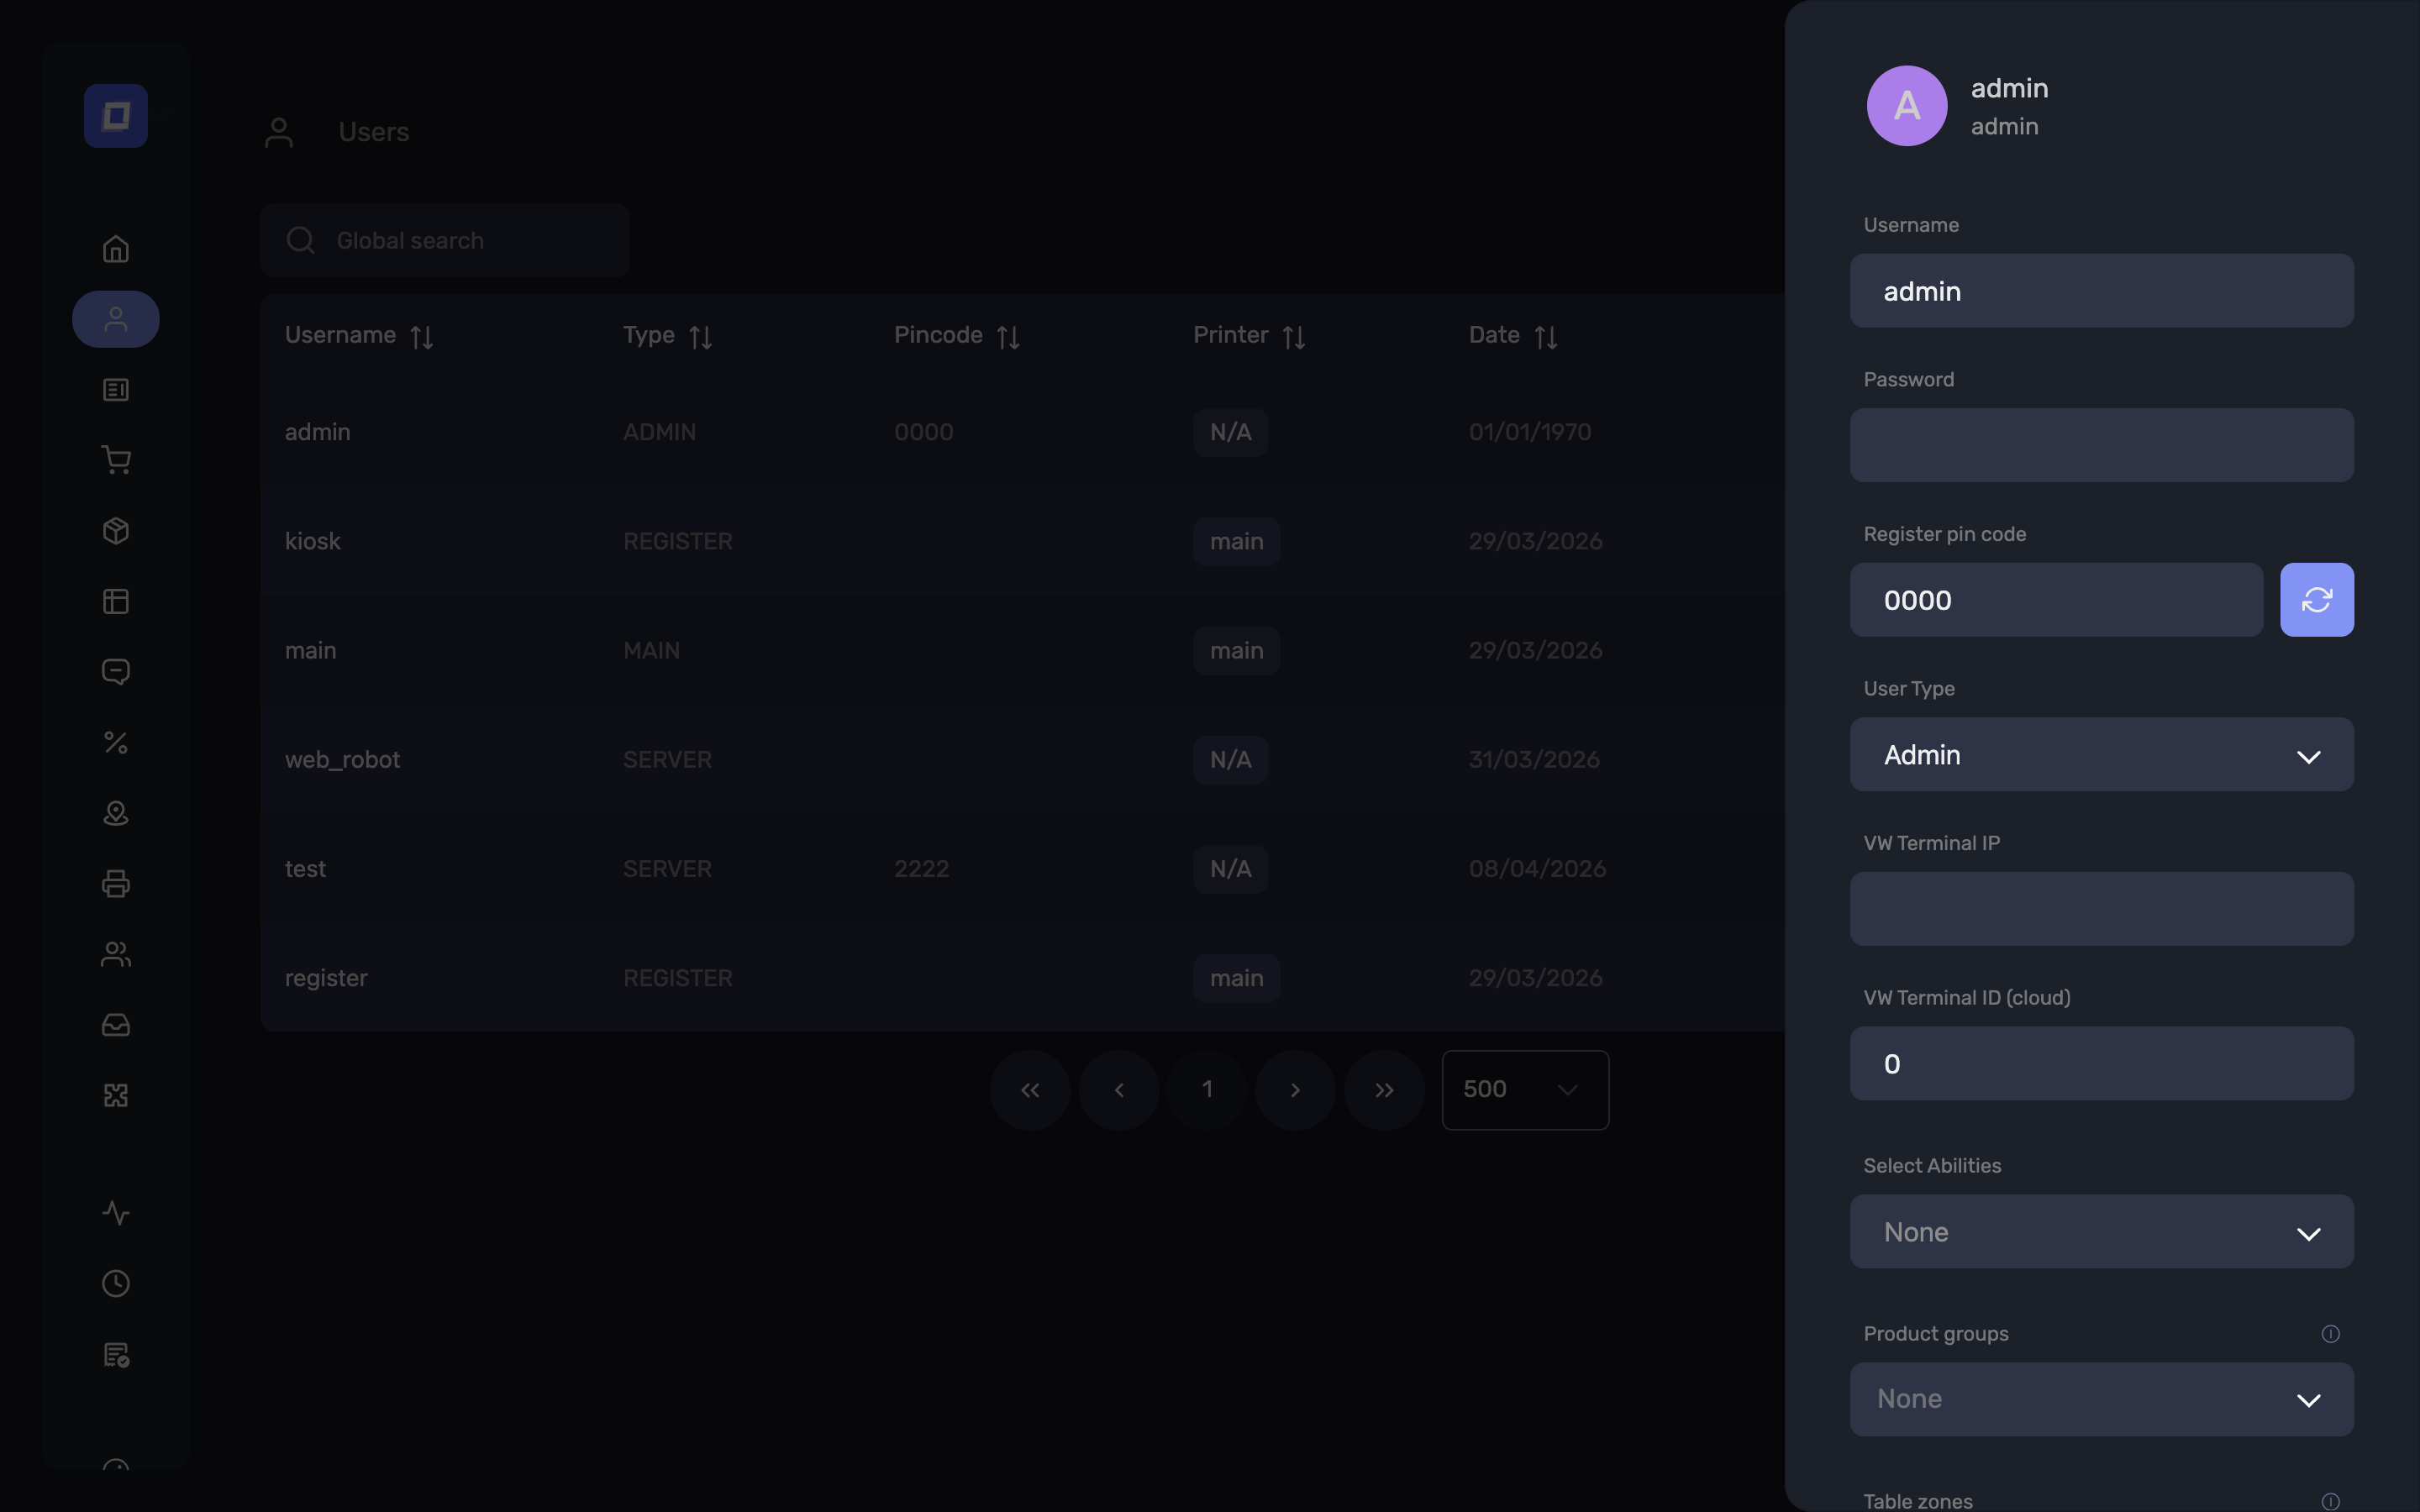
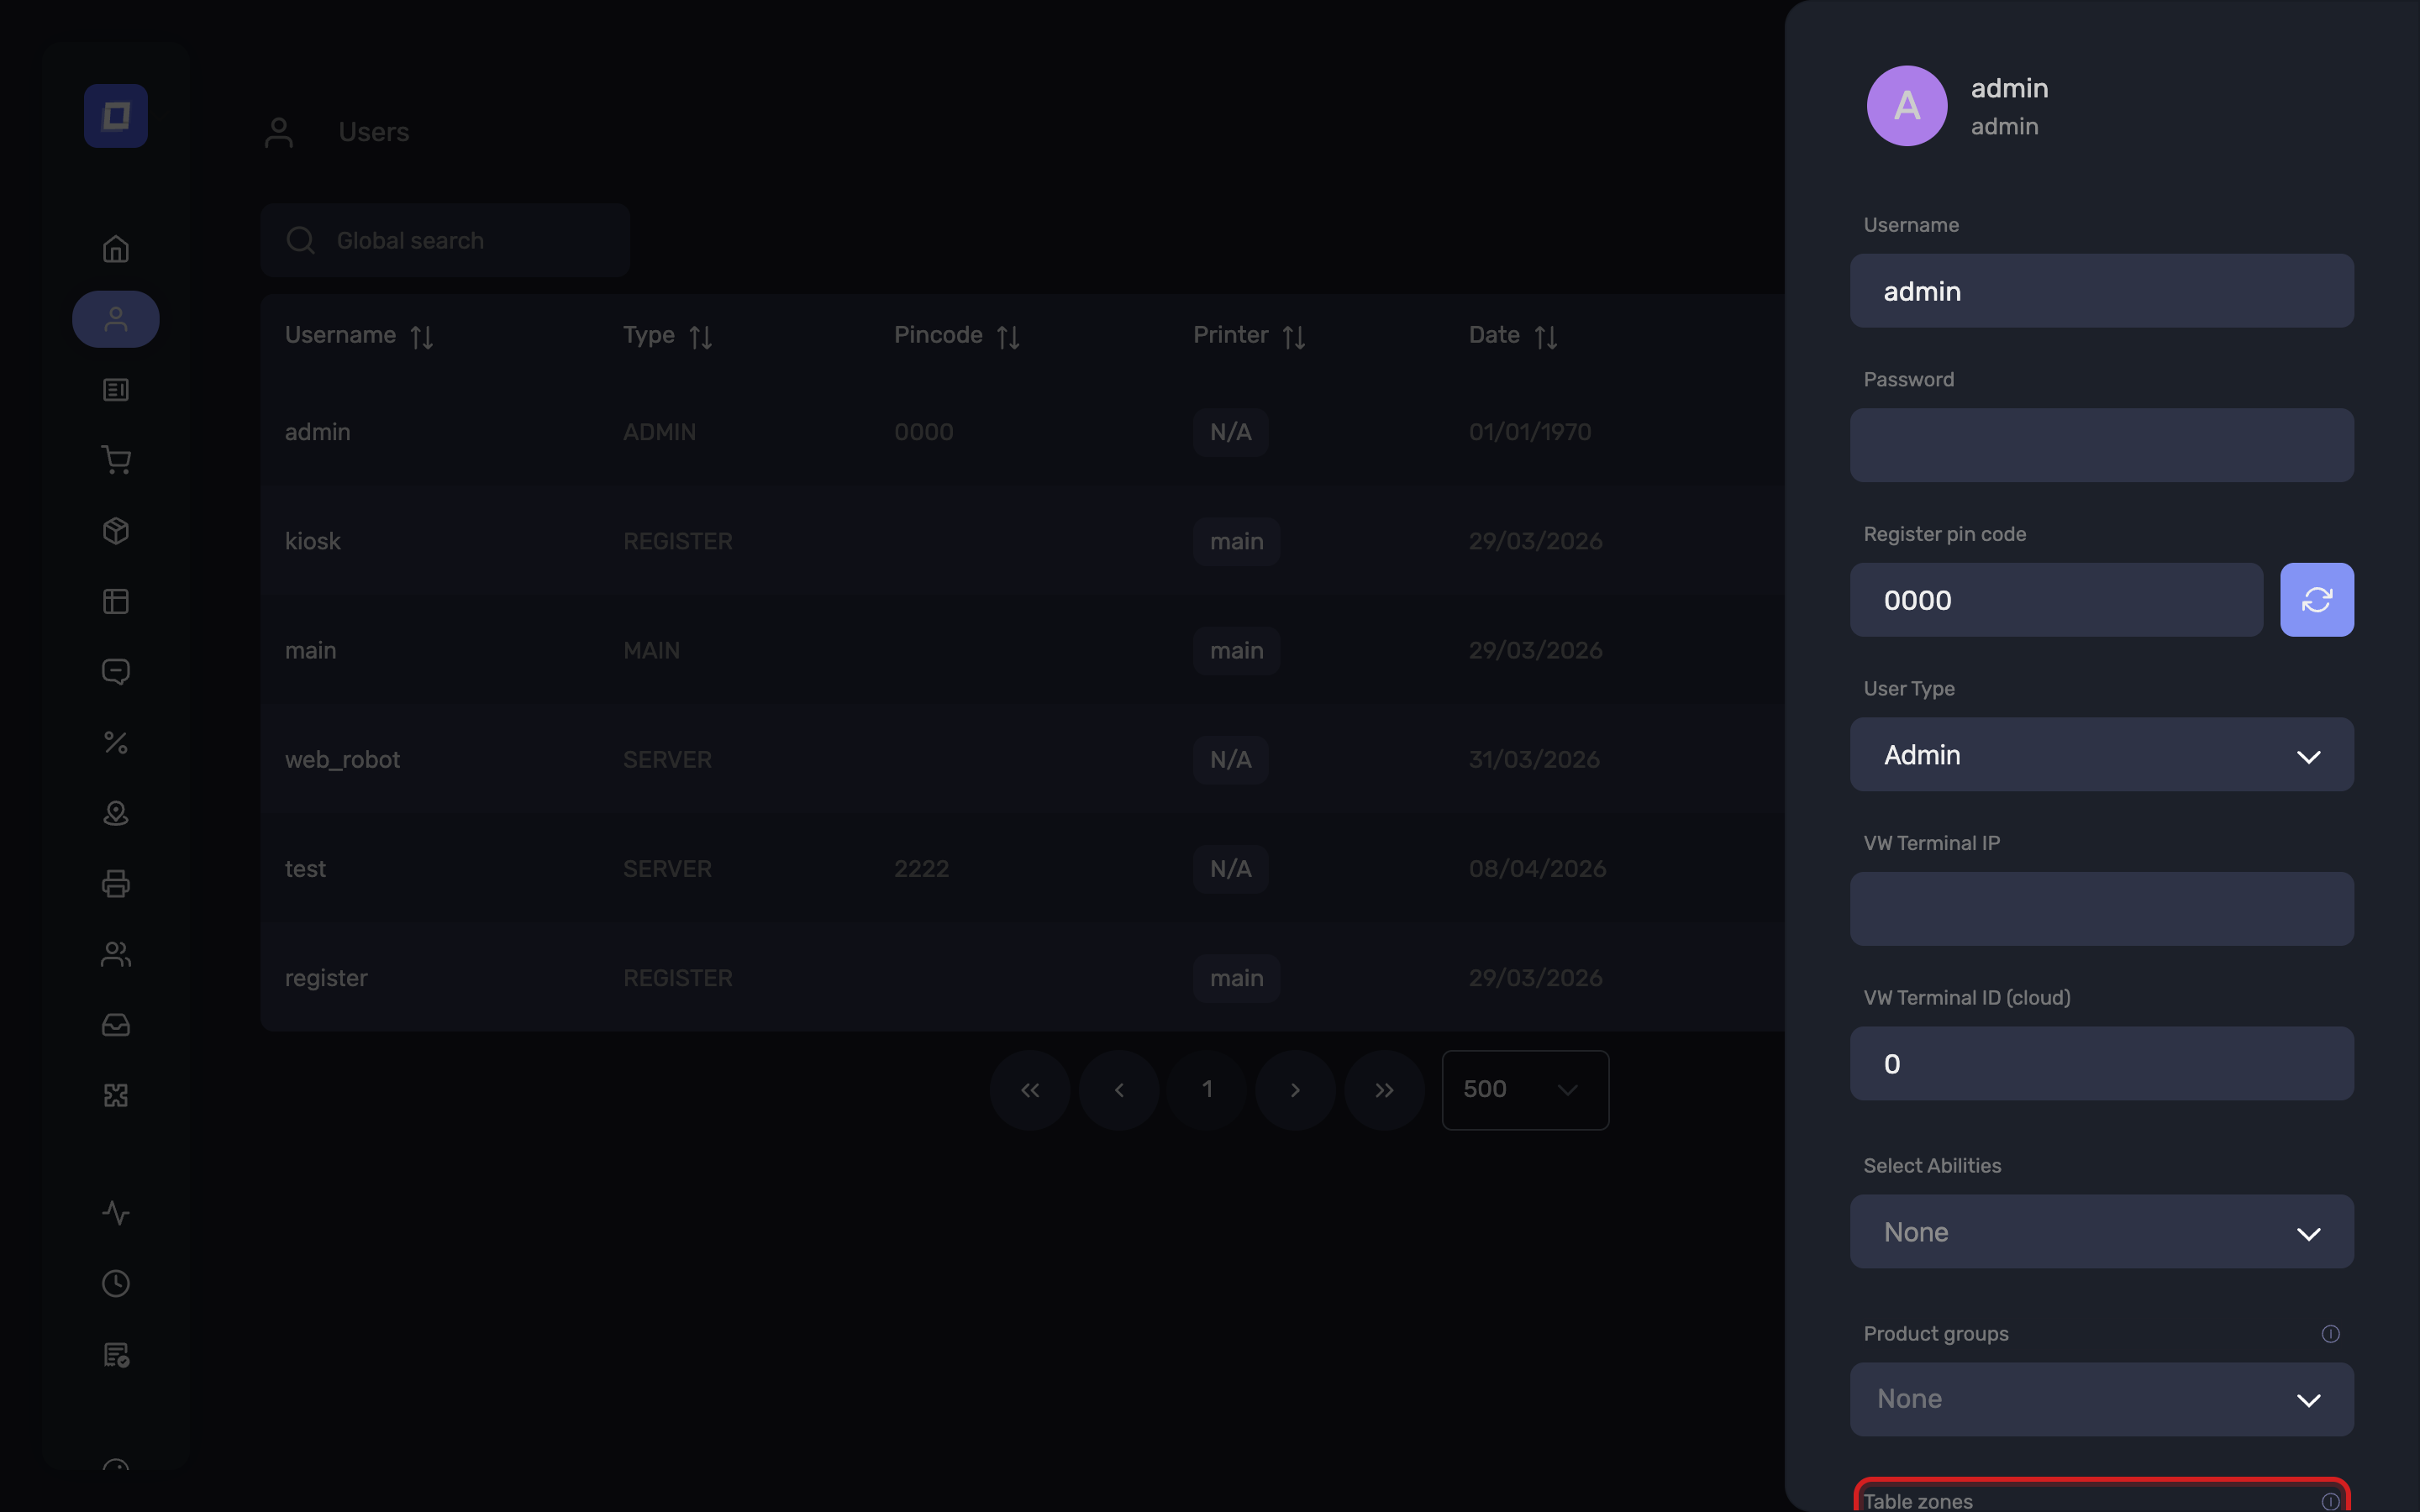
Open an existing user to reach the full set of settings:
| Field | What it does |
|---|---|
| Username, Password | The account's own credentials |
| Register pin code | The PIN this person enters on a shared register. The button beside it generates a new one. |
| User Type | Admin, Server, Register or Main |
| VW Terminal IP | Address of the Viva Wallet terminal this user pays with |
| VW Terminal ID (cloud) | Identifier of a cloud terminal, where one is used |
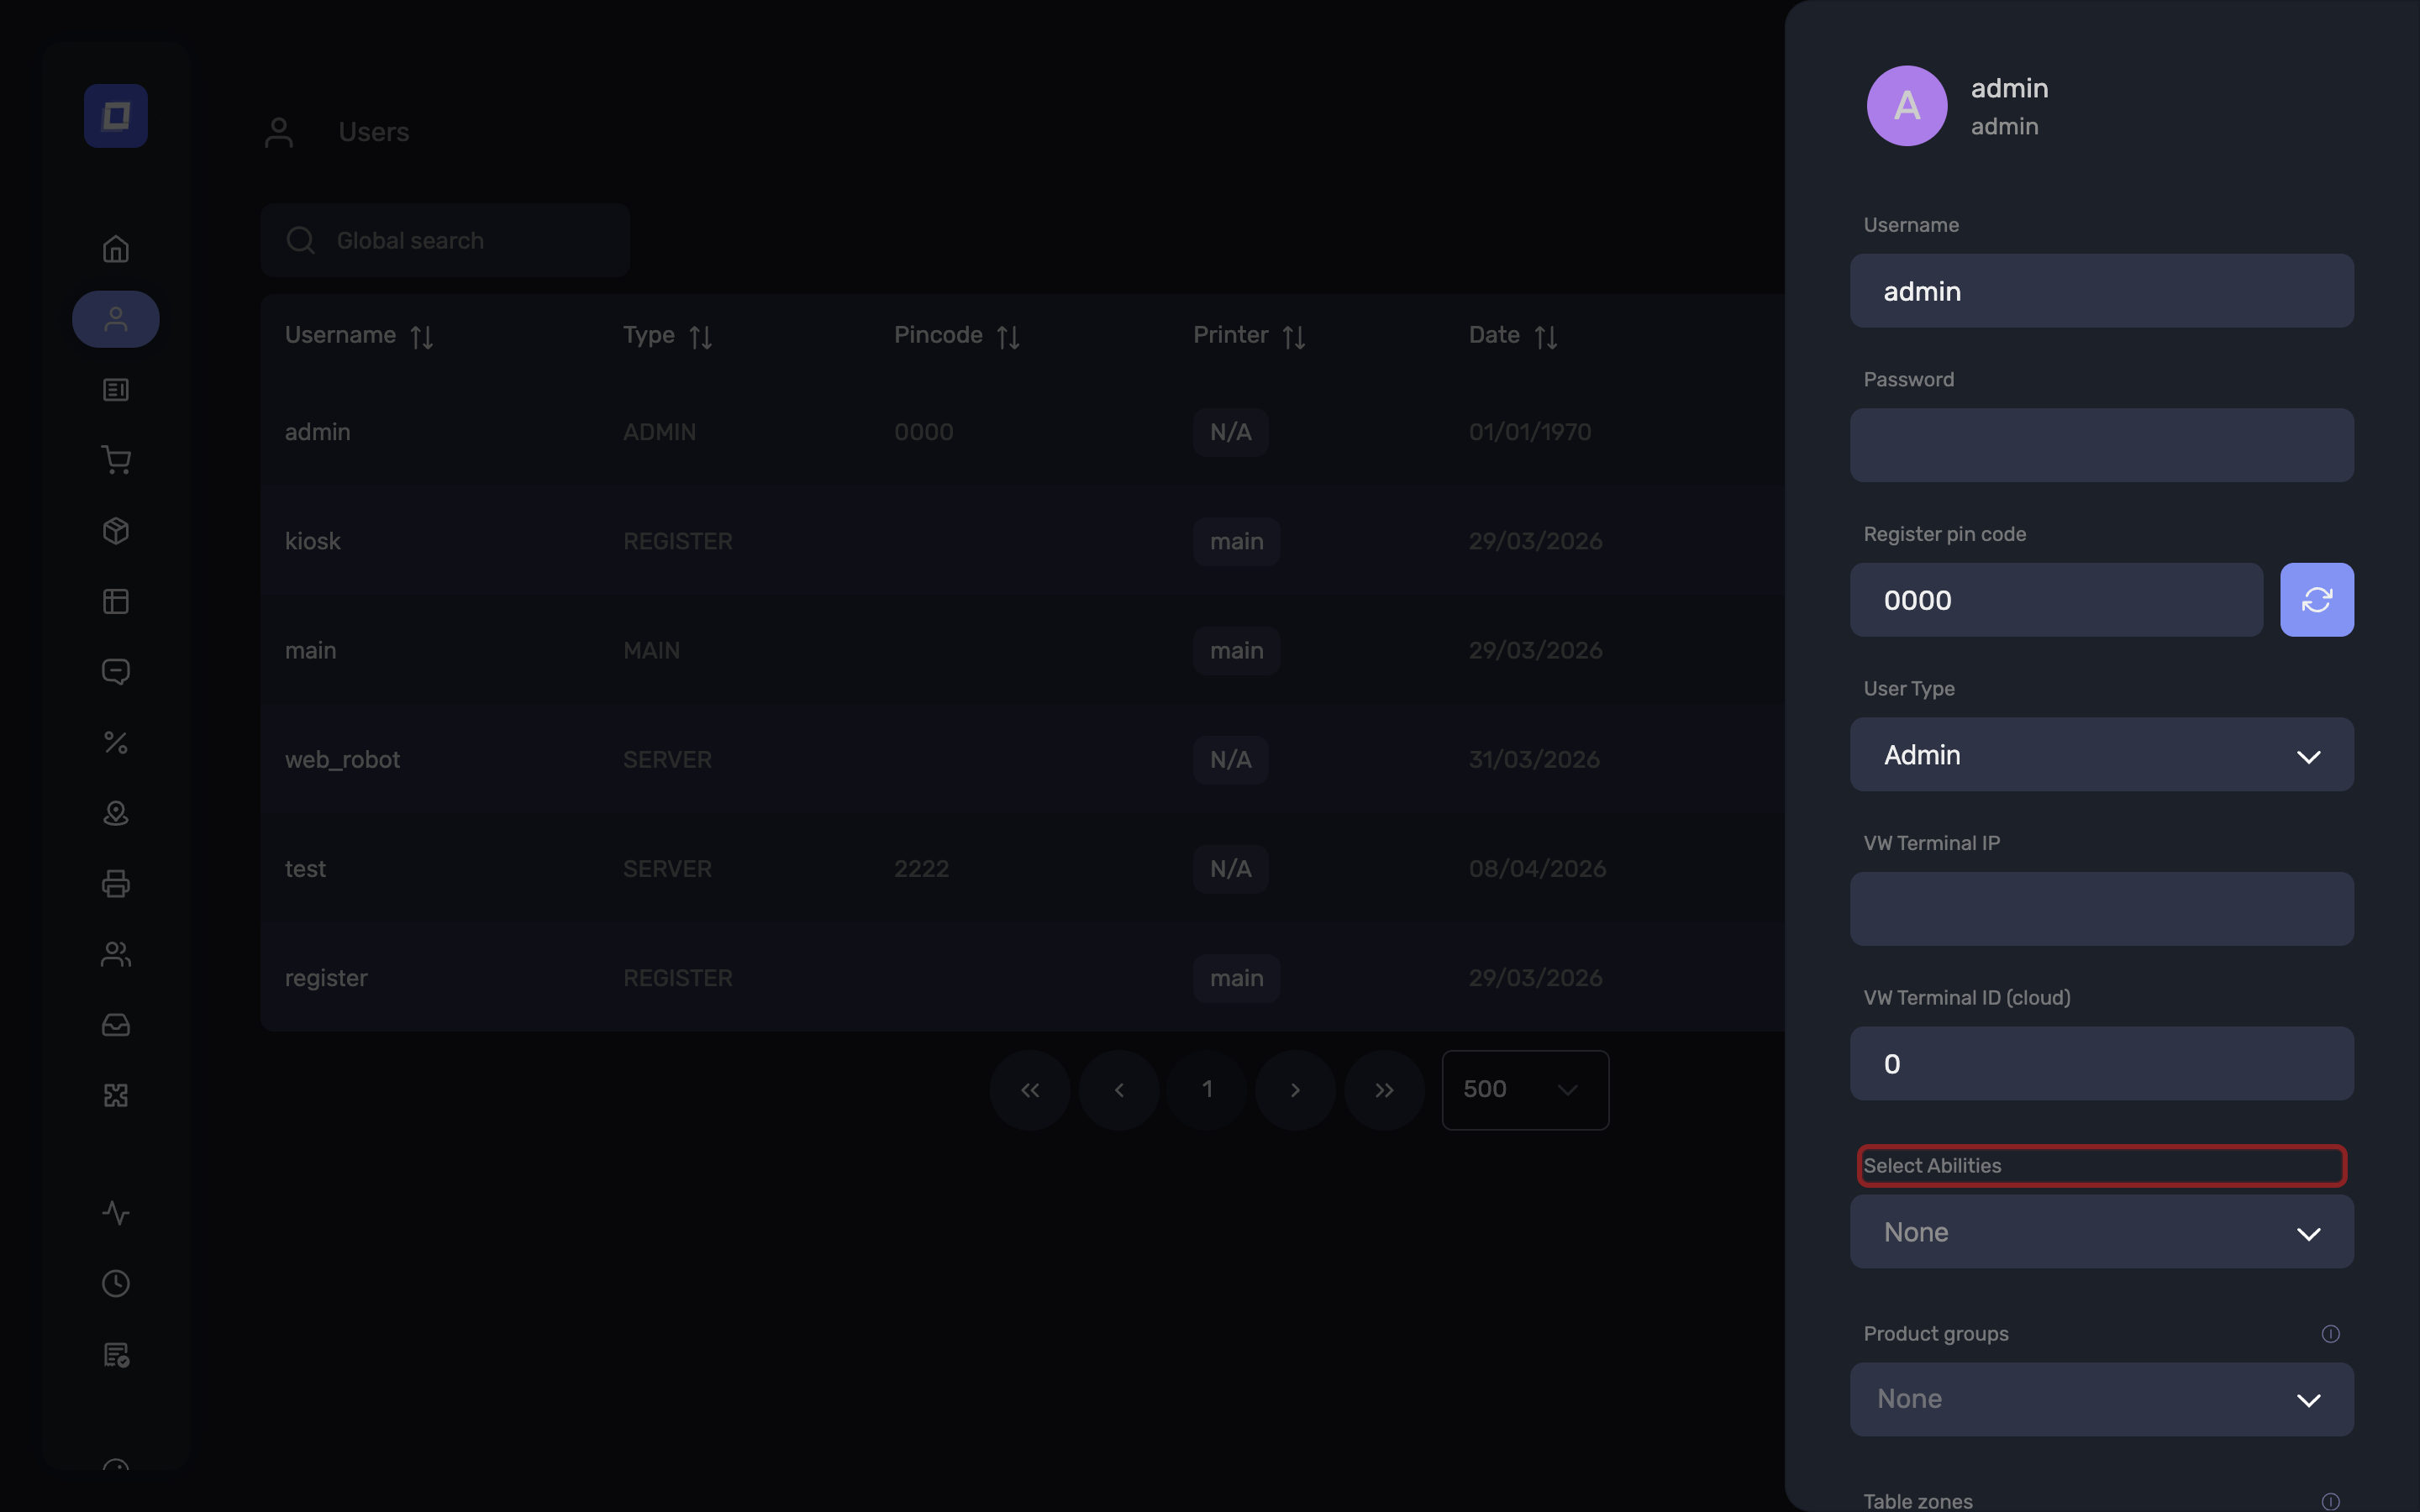
| Select Abilities | What the user may do, and which Admin Panel pages they can open |
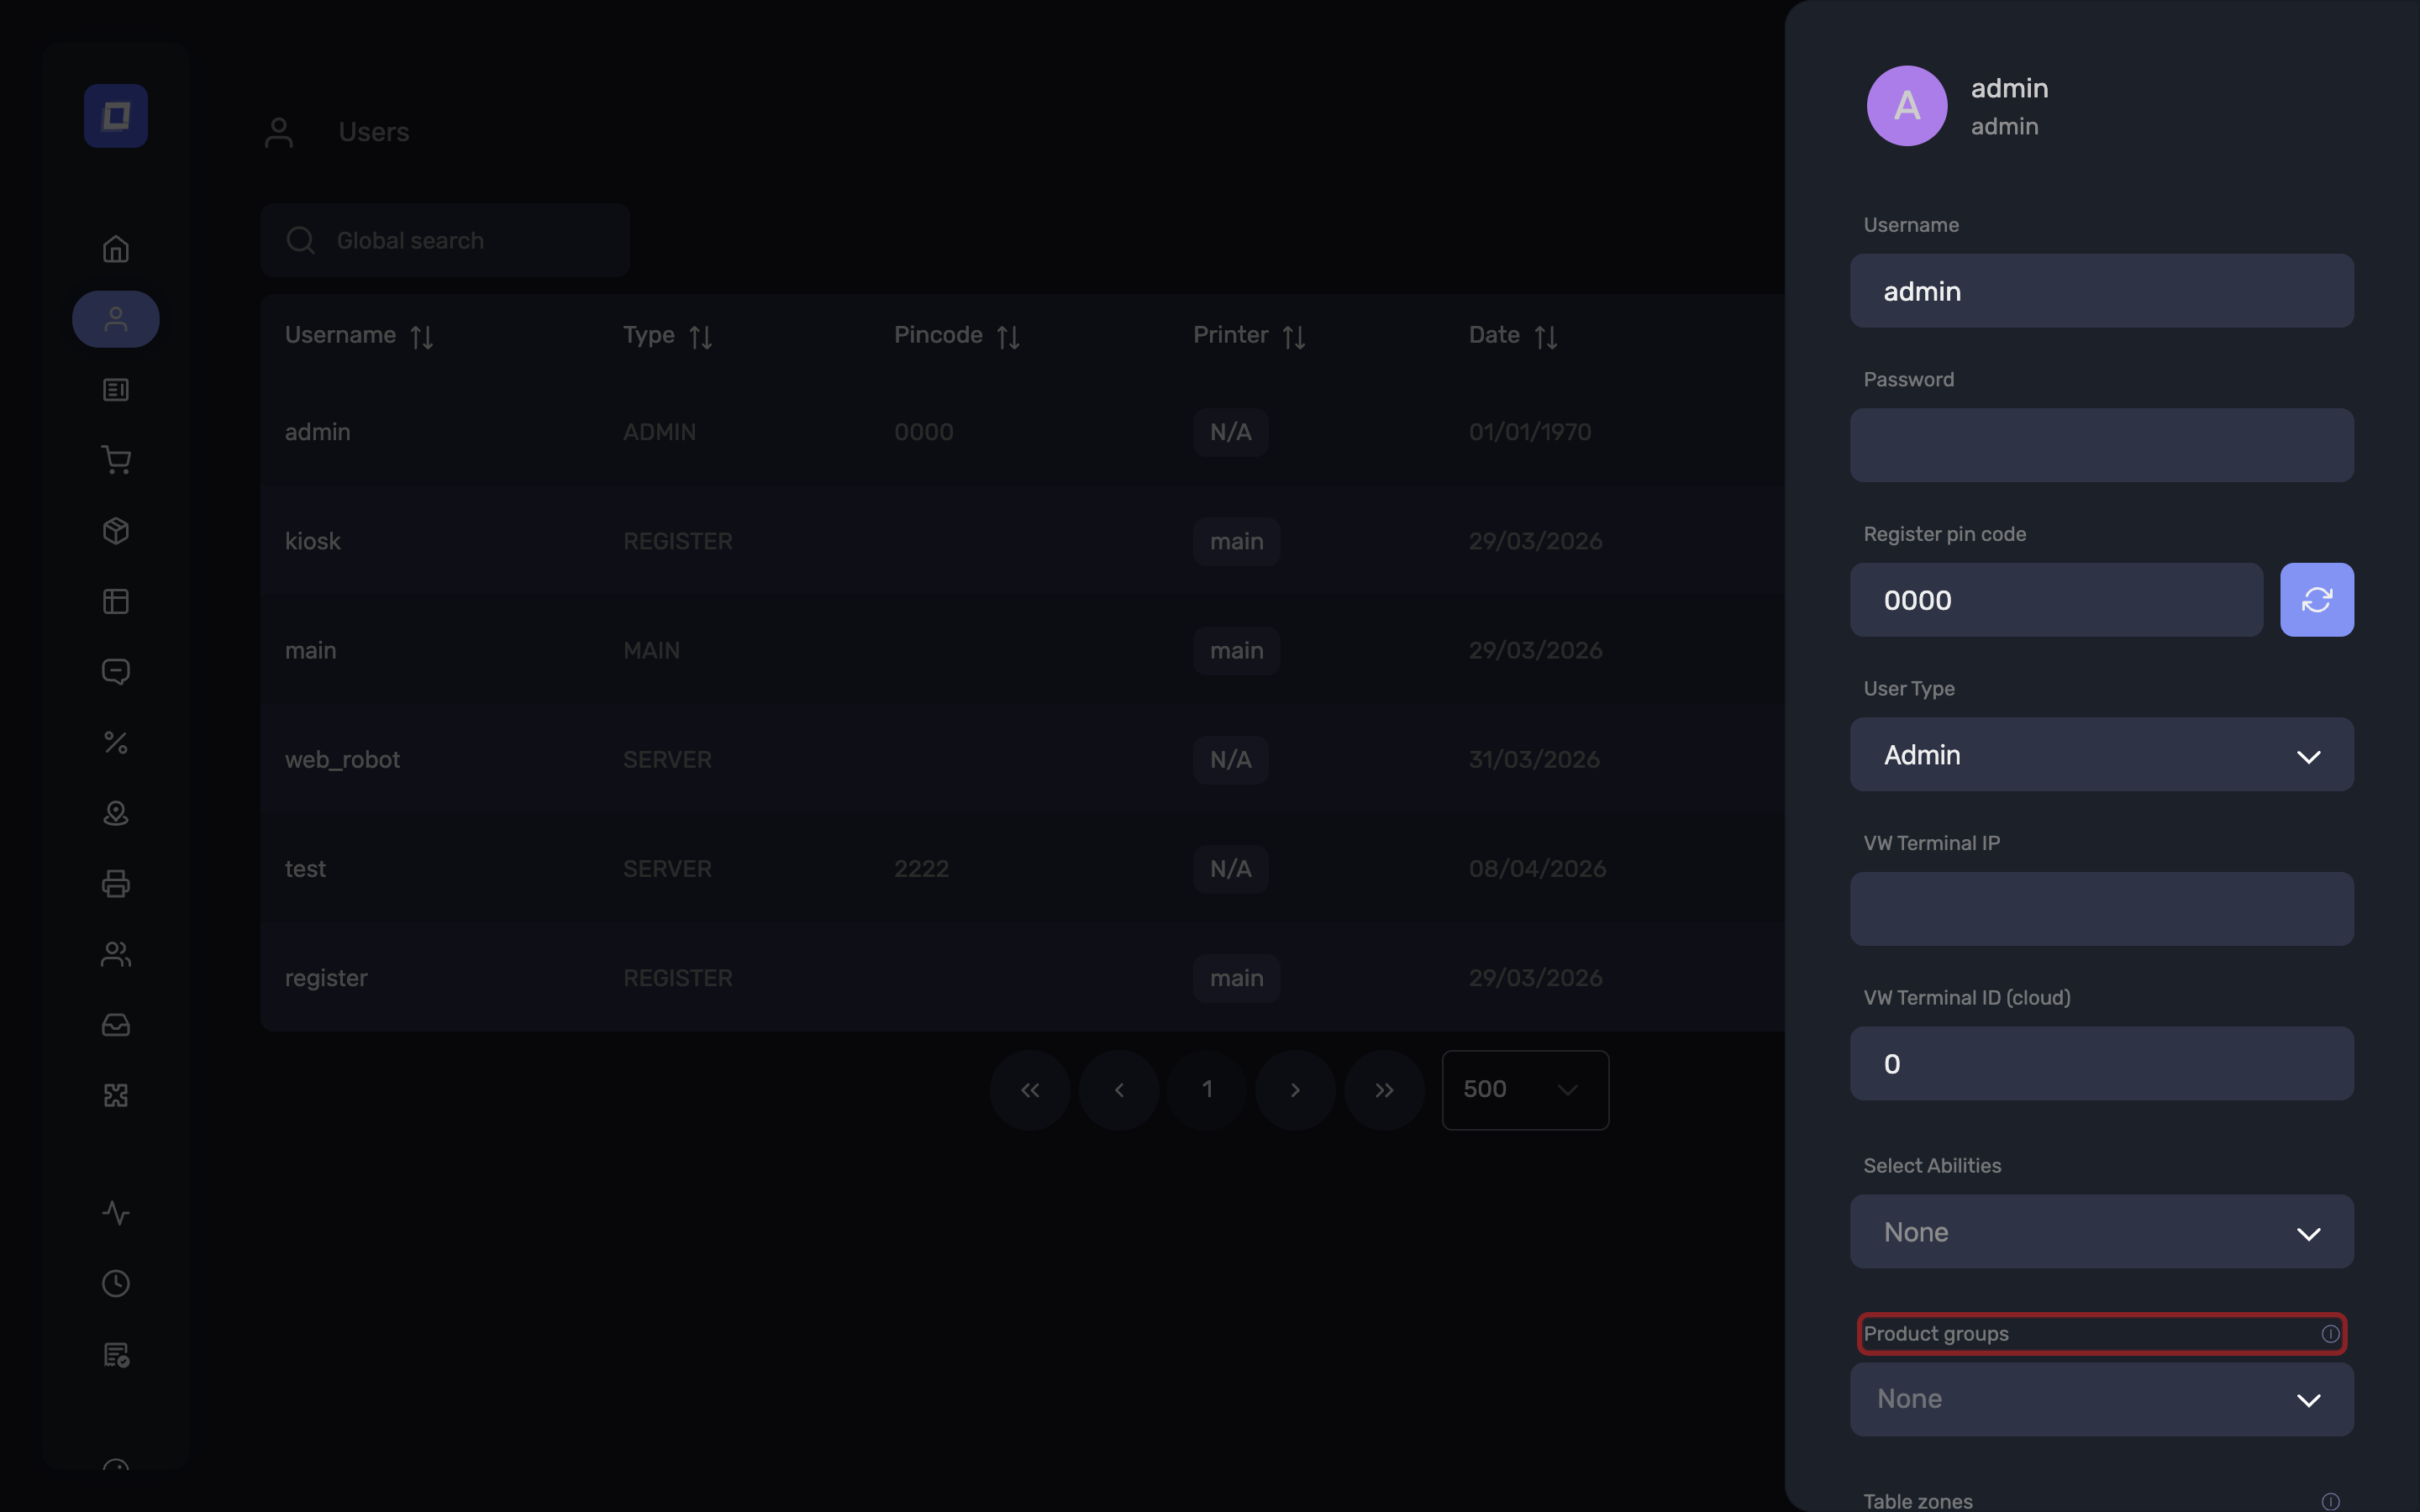
| Product groups | Restricts the user to part of the catalog |
| Table zones | Restricts the user to specific zones of the room |
| Printer | The printer this user's tickets are sent to, for Main and Register accounts |
| KDS Product Groups, KDS Call Screen Mode | For kitchen display screens |
Table Zones
Table zones limits a user to part of the room: "The user will only be able to see the selected zones when logged in."
- Left empty — the user sees every table.
- Zones selected — the user only sees tables in those zones.
Tip
Use it to split a large venue between teams — terrace staff see the terrace, restaurant staff see the restaurant. It pairs with Product groups, which does the same for the catalog.
App Mode
Each user has an App Mode, which determines what the application does when that user is logged in.
| Mode | Purpose | Documentation |
|---|---|---|
| App | Standard POS — staff take orders and payments | POS App |
| Kiosk | Self-service — customers order for themselves | Kiosk |
| KDS | Kitchen Display — screens show orders in preparation | KDS |
Warning
App Mode is not shown on your user form. It is set by your Posbel account manager — see Features Enabled by Posbel. To put a device into kiosk or kitchen display mode, ask them to switch the mode on the user that device signs in as.
Tip
Create the user yourself with the right User Type and printer first, then ask for its App Mode to be changed. That way the account is ready to use the moment the mode is set.
Product Groups (Per-User Visibility)
A user can be restricted to a subset of your catalog with the Product groups field, available on every user whose app mode is not KDS.
- Left empty – the user works with the whole catalog. This is the default.
- Groups selected – the user only sees and manages the selected groups.
Selecting a parent group automatically covers all of its subgroups, however deeply they are nested. You do not need to tick each subgroup individually.
What the Restriction Covers
The restriction is not cosmetic — it applies wherever that user touches the catalog:
- The products and groups they can see in the Admin Panel and in the POS application
- Creating, editing and deleting products, including bulk actions and imports
- The Sales by product group dashboard, which reports only their groups
An action on a group outside the user's scope is refused with:
You can only manage product groups assigned to you
Tip
This is what makes a food court, a multi-counter venue or a concession model work: each operator manages and sees their own counter, while you keep the establishment as a whole. Assign the parent group of a counter and every subgroup under it follows automatically.
Note
Administrators are never restricted — they always see the full catalog, and the Sales by product group dashboard shows them every top-level group.
Warning
Restricting a user changes what they can manage, not what the establishment sells. Orders taken elsewhere, the webshop, the digital menu and the self-ordering kiosk continue to work across the whole catalog.
Compared with KDS Product Groups
The two settings look similar and are easy to confuse:
| Field | Applies to | Effect when empty |
|---|---|---|
| Product groups | Users in App or Kiosk mode | The user works with the whole catalog |
| KDS Product Groups | Users in KDS mode | The screen receives all orders |
Note the inverted default: leaving Product groups empty grants everything, and leaving KDS Product Groups empty also shows everything — but the KDS field controls what a screen displays, while Product groups controls what a person may see and change.
Which Pages a User Can See
An Administrator sees every page. For anyone else, each section of the Admin Panel appears only when the matching ability is granted — this is how you open a page up to a manager or a member of staff.
Warning
Admin Login must be granted first. Without it a non-administrator cannot reach the Admin Panel at all, whatever else you tick.
Pages You Can Open Up
| Page | Ability that reveals it |
|---|---|
| Dashboard | Dashboard or Groups Dashboard |
| Menu | Products and Product Groups — both are required |
| Products | Products |
| Groups | Product Groups |
| Tables | Tables |
| Printers | Printers |
| Clients | Clients |
| Promo | Promotions |
| Invoices | Invoices |
| Digital menu | Digital menu |
| Accounts | Accounts |
| Order History | Orders |
| Shifts | Shifts |
| Stock | Stock |
So to let a floor manager manage the room layout, grant Admin Login and Tables: the Tables page then appears in their sidebar and nothing else does.
Pages Reserved for Administrators
These have no ability attached. They cannot be opened up to another user — only an administrator sees them:
- Users
- Settings
- Message
- Pickup
- Integrations
- Payments
- Media and Icons
Note
This is deliberate. These pages configure the establishment itself — who may log in, how it is set up, what it connects to — rather than the day-to-day catalog and reporting that staff work with.
Two Further Rules
In the certified version, Invoices, Promo and Pickup are hidden entirely, for administrators too. Those features are not part of the Belgian SCE-certified offering.
On a phone, Menu and Digital menu are not shown. Both are layout-heavy screens that need a tablet or desktop to be usable.
Tip
If a page is missing for a member of staff, check in this order: do they have Admin Login, do they have the page's own ability, and is the page one of the administrator-only or version-restricted ones above.
Managing Abilities
After a user is created, a Select Abilities dropdown becomes available, allowing you to configure fine-grained access control for that specific user.
Abilities are grouped into the following categories:
Admin Abilities
These control access to the Admin Panel itself and the ability to manage specific modules within it.
- Login: Allows a user with the Server type to log into the Admin Panel. It is listed under Admin, which is why it is referred to as Admin Login throughout these pages.
Warning: This must be enabled to grant any Admin Panel access for non-admin users.
- Products: Manage products, and reveal the Products page
- Product Groups: Manage product groups, and reveal the Groups page
- Tables: Manage tables, zones and types, and reveal the Tables page
- Printers: Configure printers
- Clients: Manage client data
- Digital menu: Manage the digital menu, where it is enabled for the establishment
- Promotions: manage promotions
- Invoices: manage invoicing
Tip: Granting Products and Product Groups together also reveals the combined Menu screen.
Analytics Abilities
- Dashboard: Access to the dashboard
- Groups Dashboard: Access to the Sales by product group section of the dashboard
- Accounts: View account history
- Shifts: Access to shift logs
- Orders: View all orders
- Stock: Access stock overview
Note: Administrators see every dashboard section regardless of these two abilities. For other users, granting only one of them shows only that section.
App Abilities
These change how the POS application behaves for the user.
- Hide cashbox button: Removes the Open Register button from the app — both on the Home Screen and on the payment confirmation screen. The drawer can then only be opened as part of a payment.
Warning: This is a restrictive ability: it takes something away rather than granting it. It applies to every user who has it, including administrators.
Payment Abilities
- Error – correct several items on an account in one action, from the payment screen. Despite sitting with the payment abilities, this is a correction, not a way of paying, and it records the same thing as cancelling those items one by one — see Offered and Error.
- Bank Transfer
- Offered – give items away by discounting them 100%. This too is a discount rather than a way of paying, and it carries the discount permission: a user with Offered can apply any discount, not only a full one.
Note
Error and Offered work the same way in the Belgian SCE-certified version as in the International one — granted per user through these abilities, or to everyone through the matching establishment setting. Neither is a payment method; each is recorded fiscally as a correction. See Offered and Error.
Note
Administrators have every payment ability without any of them being granted. These abilities, and the establishment settings that match them, only decide what non-administrator users can reach.
Warning
Customer credit is not available in the certified version, for any user or account type — including administrators.
Warning
Invoices and Force shift closure have no effect in the certified app, whatever a user's abilities say. Do not rely on them being honoured.
Kiosk Abilities
Set on the user a self-ordering kiosk runs as, these control what the kiosk offers the customer:
| Ability | What it removes from the kiosk |
|---|---|
| Disable Cash | Cash payment |
| Disable Card | Card payment |
| Disable Eat in | The Eat-In button — Sur Place on a French kiosk, Eet-In on a Dutch one |
| Disable Takeaway | The Takeaway button — À Emporter in French, Afhaal in Dutch |
Each one removes an option from the kiosk. Leave them unset to offer everything. See the Kiosk section, and Removing Eat-In or Takeaway for the steps and when the kiosk picks the change up.
Note
Disable Cash and Disable Card apply in the SCE-certified version as well, so a certified kiosk can be restricted to card payments only.
KDS Settings
These settings apply to users who operate a Kitchen Display System (KDS) screen.
KDS Subscribed Product Groups
Limits the items shown on this user's KDS screen to specific product groups. When set, only products belonging to the selected groups will appear on the display.
Tip: Leave this empty to show all items across all product groups on the KDS screen.
KDS Call Screen Mode
When enabled, the KDS operates in call screen mode. In this mode:
- Each account (order) appears exactly once on the screen, in a single state column.
- An account moves to In Progress as soon as any one of its items starts being prepared.
- An account moves to Ready only when all of its items are completed.
This is in contrast to the standard KDS mode, where the same account can appear in multiple columns simultaneously — once for each preparation state its items are in.
Tip: Use call screen mode for front-of-house displays where staff need a single, unambiguous view of each order's overall status (e.g., a screen visible to customers or a runner calling out completed orders).